7 Life Lessons Learned while Laying New Floors
One of the biggest undertakings we signed up for with this house was laying new flooring. Yes, we could have paid someone else to do it, but I really wanted to give it a shot and having read reviews of other people’s experience, it seemed doable. We dove in head first, learning as we went. One thing about this process is that you have a lot of time to think, so as I was working, I found lots of parallels between life lessons and flooring lessons.
Here are the things you need to remember when you’re starting any project, life, flooring or otherwise:
1. It’s Better with a Buddy
As we worked through our first room, Matt and I established roles in the process. I would measure the piece if it needed to be cut and then he would cut it, which worked out great. These pieces sometimes get pretty complicated, cutting around nooks and crannies to make it fit. After a few times of waiting for Matt to come back with the piece, I thought maybe I could keep laying pieces to maximize the time, but especially while I was still learning, I needed another set of hands to help me hold the piece to get it locked in. As we went, we learned how to do this independently, which did help speed up the process in some of the bigger rooms but it certainly was more fun when it wasn’t just me.

Besides just another set of hands, this project required a lot of strategizing when it came to unique pieces at corners – sometimes we had to be creative and bounce ideas off each other about how to cut a piece so that it could slide in at the proper angle to lock in and still clear the wall in the process. Moral of the story: could you do this by yourself? Probably. Would I recommend going solo through the physical, mental and emotional challenges it brings? Nope.
2. YouTube is the Best Teacher:
The first thing we did to start this process was watch a couple youtube videos about how to do it. We watched from the beginning, got impatient and thought “that seems easy enough”, went and tried, and then came back over and over to watch the video for instructions again. This was all the training we had – seriously, youtube can teach you just about anything! The video we found most useful is here. We also had to watch a youtube video purely to know how to change our saw blade…that one is here.
3. Good Things Take Time
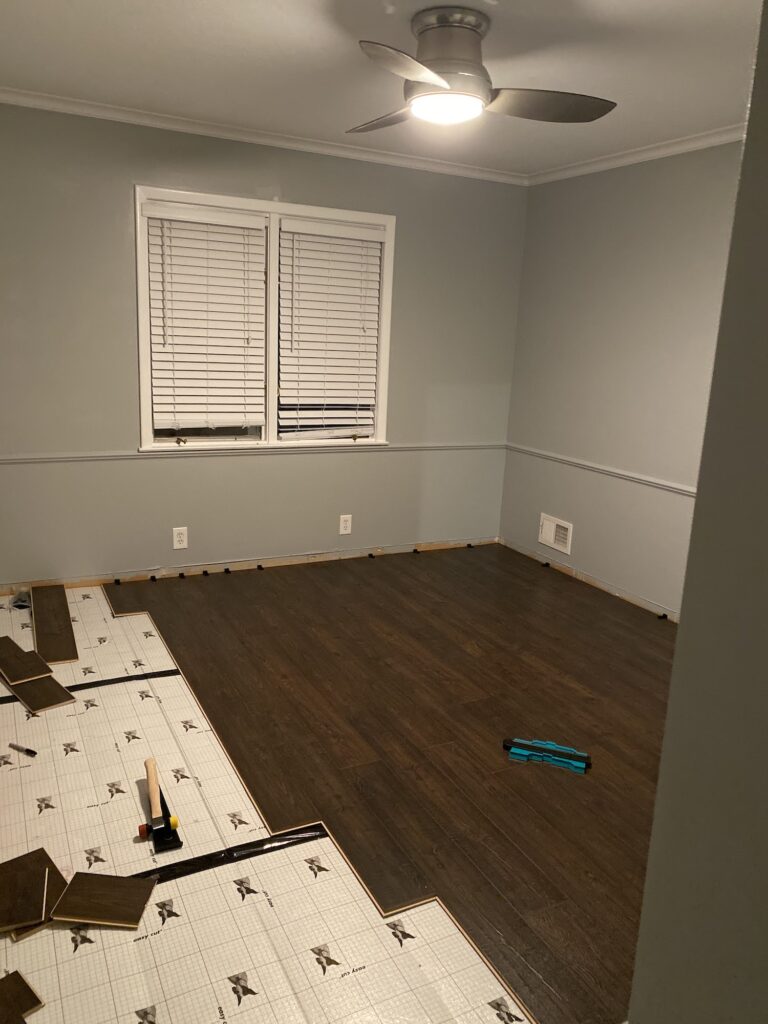
I was SO excited about this part of the transformation of our house, that I really just wanted to get a move on! Remember, we were trying to do this work in time to move furniture in on top of it, so we were working in a bit of a time crunch. However it takes time to learn a new skill and when there are power tools involved, it is so important to be focused, clear headed and patient. With our first room (the guest room) we had finally gotten the hang of it and only had one more row to go until we completed the room. However, these last rows require the most cutting since you have to cut the width down to the proper size and often have to cut around door frames, corners, etc.
We were so excited – one room almost complete – but it was getting late and we were clearly getting irritable and exhausted. So… we stopped! This was honestly harder to do than moving forward because we wanted to SO badly but it saved us more frustration (and probably some fingers).
4. A Good Foundation is Key

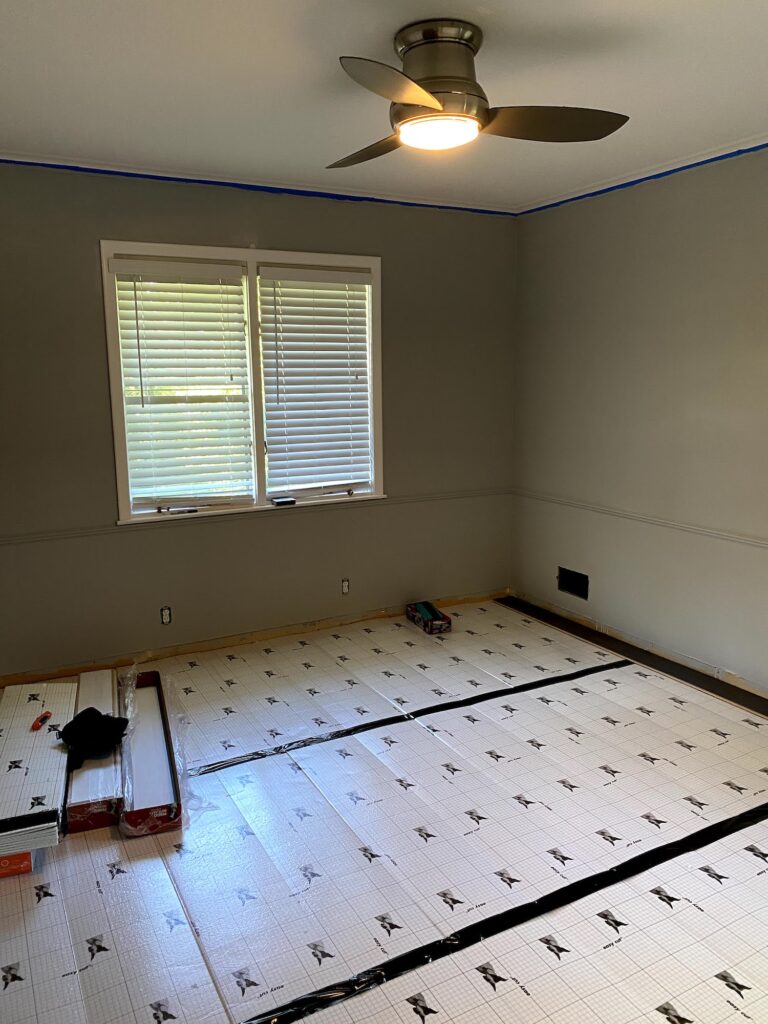
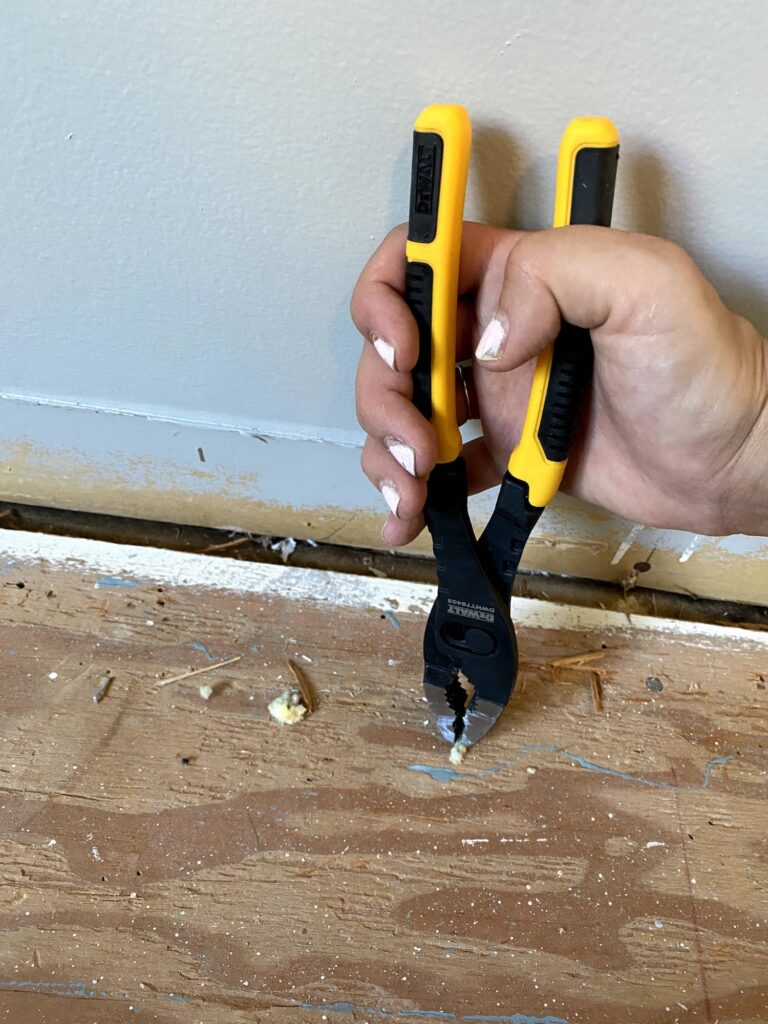
Preparing the floor prior to laying anything down is the most important thing you can do, otherwise, the floors could have significant problems down the road. First and foremost, the surface must be flat. We got lucky, because the floors in our main living spaces already had a floor laid which created a nice, flat surface for us to work right on top of (and saved us a lot of demolition!) In other cases, like our bedrooms, we had just removed carpet and had quite a bit of cleanup to do. When you remove carpet, you need to remove any carpet pad, which often comes with staples. I removed these using pliers, dropping them in a cup so I didn’t have to pick them up later, but I know that there are tools that do this faster.
From what I understand, any dirt or debris can make your floors audibly “crunchy” so it is imperative to clean before laying anything down. Trust me – buy a shop vac and you will not regret it.
In our case, we chose a Pergo flooring that had an attached underlayment, meaning we didn’t need to lay anything additional down before we laid our floors. However, we had a unique conundrum with our flooring that required us to use additional underlayment in certain rooms. Because we laid our living room floors directly on top of the already existing floors, we stacked ½” floor on top of the ½” floor already there, putting us at 1” above the subfloor. In the bedrooms, we removed carpet, putting us at ground zero (subfloor). We planned to bridge these two wood sections with tile which would be flanked by transition strips to between materials. While you can take care of a slight difference in height using transition strips, this would leave us with around ½” difference in height which is too much. Because of this, we decided to add an underlayment product, made by Pergo, the same brand as our floors, to add about ¼” and be able to bridge these two sections of floors more smoothly.

5. Your Back Will Hurt
This is a physical task for sure and MAN did our bodies hurt. Just imagine, holding your body in weird positions and hitting with mallets with enough force to move the tongue and groove into place on every single piece. If you can’t imagine, just trust me and get your Advil ready.
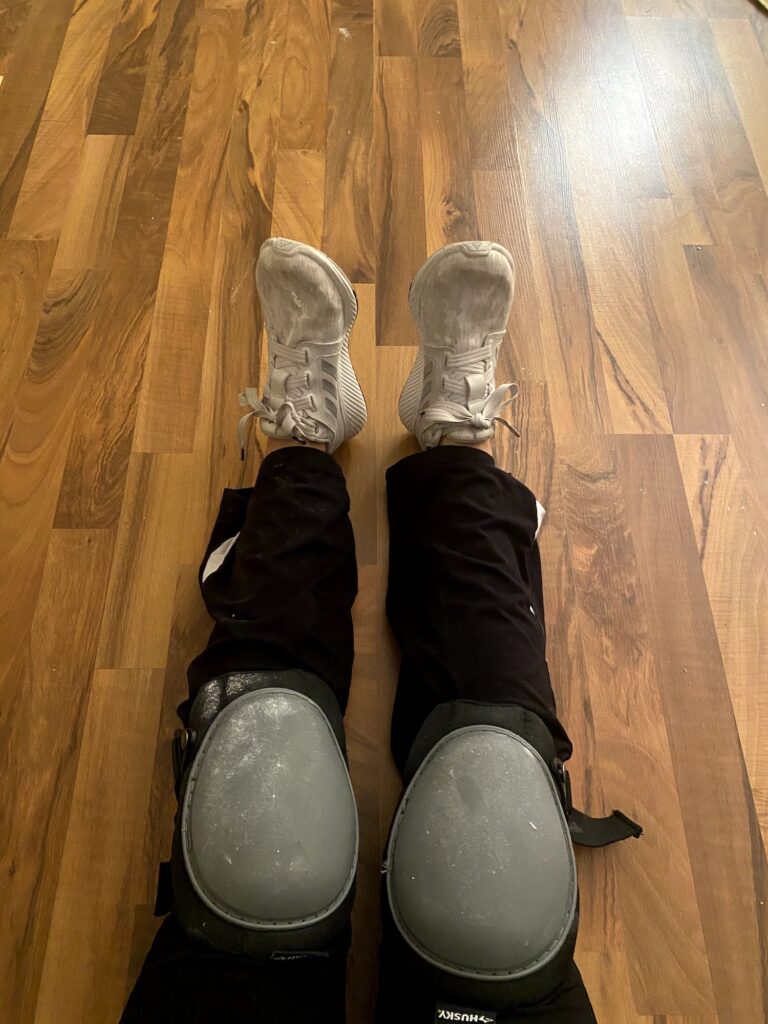
Another thing, you spend the majority of your time on your hands and knees, crawling around and measuring knee pads are a MUST have. There are days where I thought we were just laying a couple pieces so I wouldn’t need the kneepads, but I was wrong. It hurts and I’m guessing it isn’t too good for your knees. Even though they look stupid, wear them.
6. You Need Room to Breathe
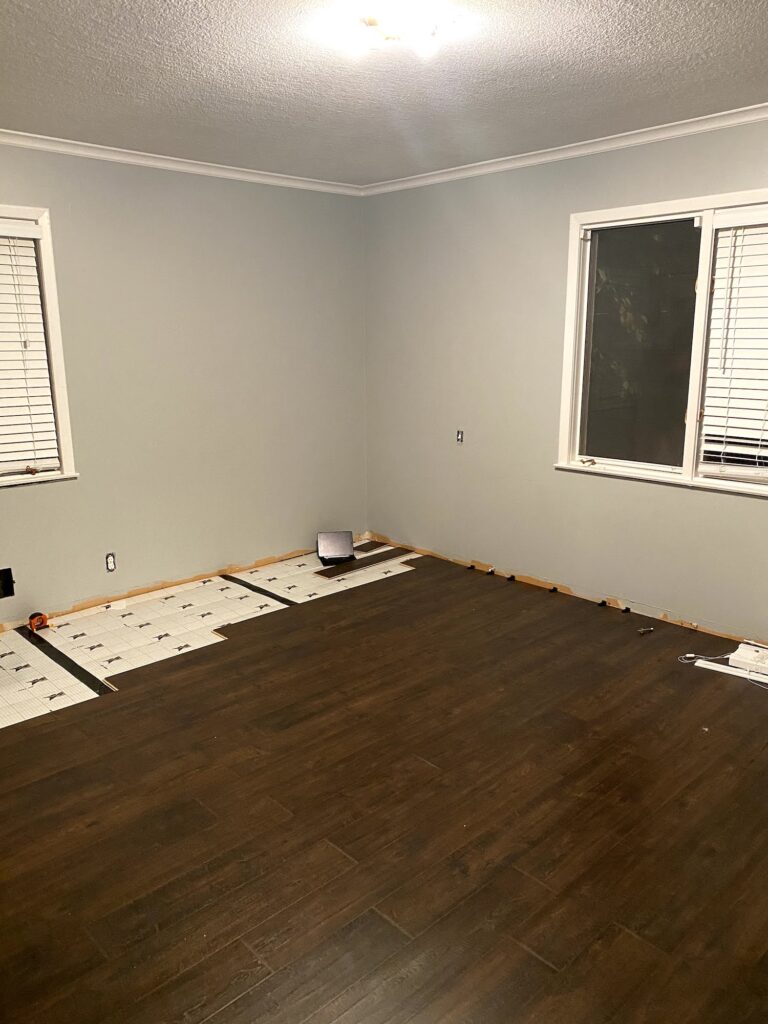
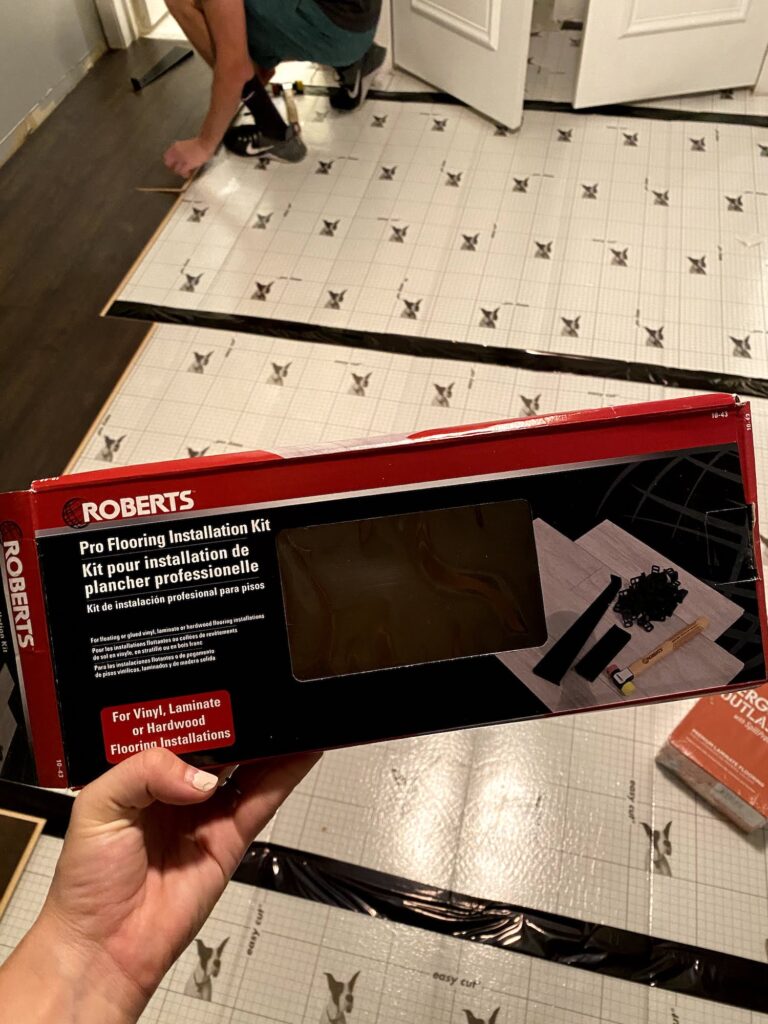
Here is some good news. Despite common misconceptions, you don’t need to be perfect when doing this kind of work! Yes, there are some precise pieces, but you actually want to leave some space for expansion and contraction around the edges of the room. When you buy a flooring kit (I included a picture of the one we bought below), it comes with little spacer pieces that you put at the end of every row in order to make sure your floor isn’t jammed in there. You do this because wood naturally expands and contracts so you need to give it room to breathe! I know you may be thinking, but what do I do with that weird space? At the end, you will take that out and treat that space for expansion (more on this in another post) and then place your wall base over the top. If you opted to leave your wall base in, you can add a quarter round trim piece to cover this gap as well.
7. The Work is Worth It
I know I’ve spent all this time telling you the ins and outs, and being pretty real about the hard parts, but we LOVE our floors now. Truly, it made a huge change to the way our house looks and there is an extra sense of excitement and pride knowing that we did it ourselves! This task is not for the faint of heart, but very rewarding in the end.