Flooring Mishaps
It’s no secret that we are newbies when it comes to renovating a home. Just like anyone in our shoes, we are watching lots of YouTube videos, saying lots of cuss words under our breath, and redoing things more than we’d like to admit. Up to this point, we have been sharing a lot of our highlight reel, but in reality, we’ve had a lot of *facepalm* moments. Today, I’ll share some moments with you that busted any ego we may have gained when it came to our new floors.
Refrigerator Portal
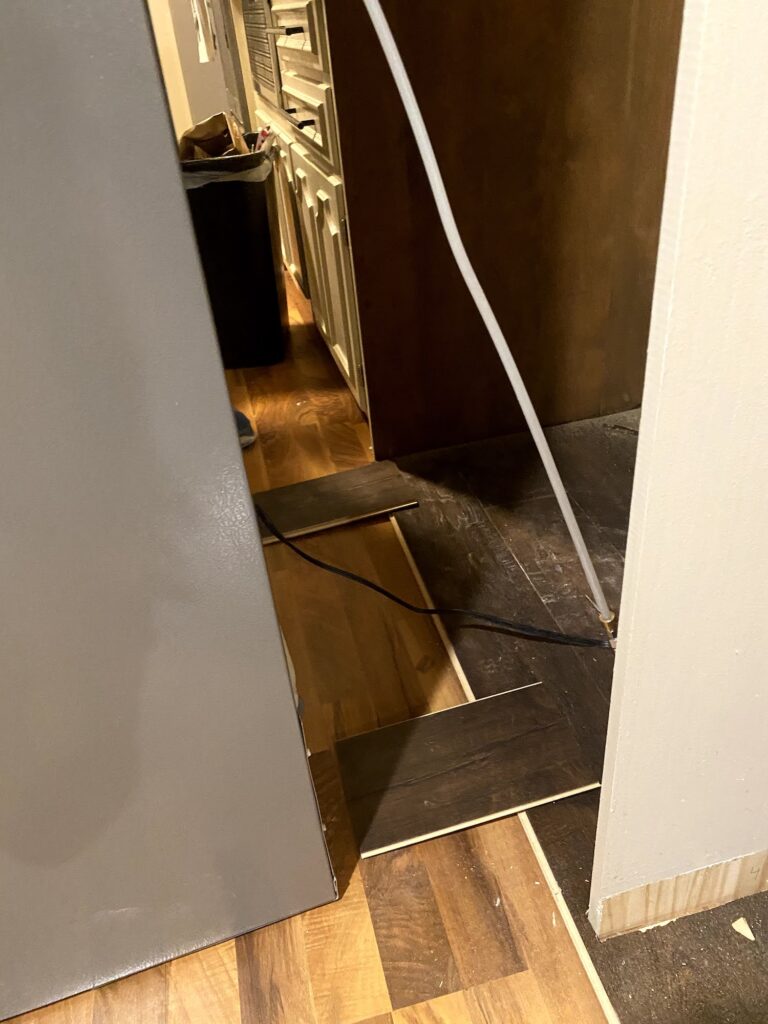
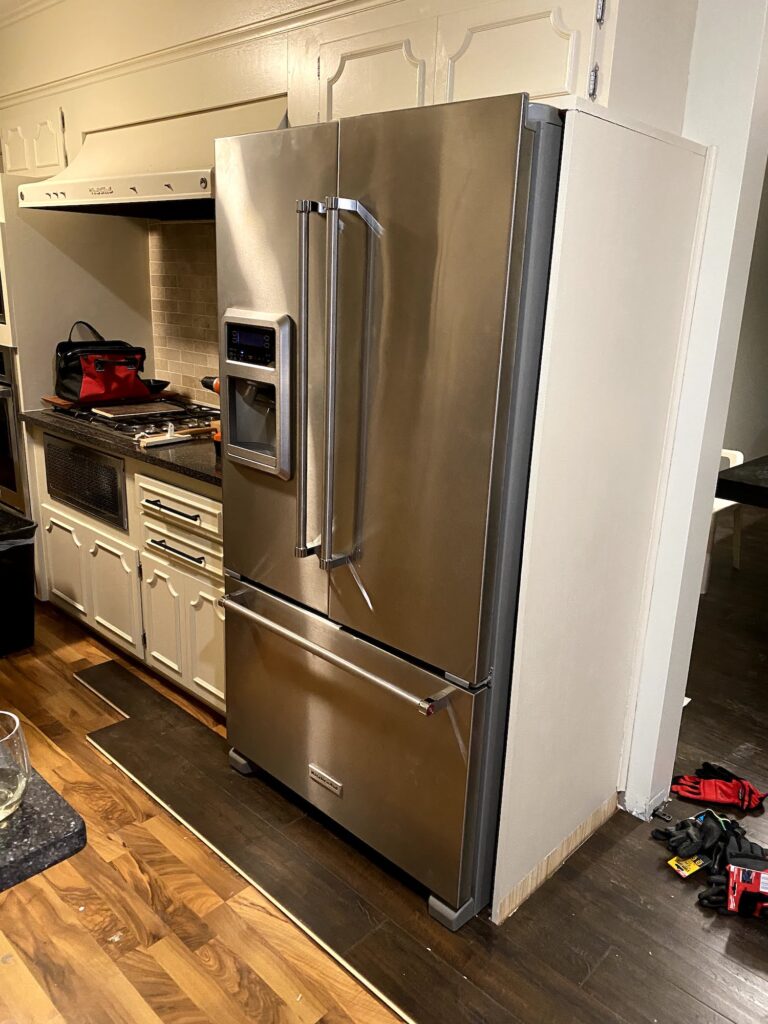
The kitchen was one of the last places we tackled when we were laying flooring, but it was truly the best twist of fate that my Dad was in town when we got there. In most houses, there is what I call a “portal” around the refrigerator (a piece of cabinetry that the refrigerator fits in). I know I am not the first person that has come across an issue with appliances and the holes that they are supposed to fit in – I’ve heard horror stories of people getting home, giddy about their new refrigerator, only to find that it doesn’t fit. This was similar– as I was proudly showing my dad our flooring progress he said, do you have enough clearance for the fridge?” What do you mean… of course I do, Dad! ~accented with an eyeroll — that’s what I wanted to say. But then it hit me…. this flooring is a half an inch thick and we chose to lay it directly over top of what was already on the floor. My only hope – maybe they left more than ½” as breathing room around the fridge? No such luck.
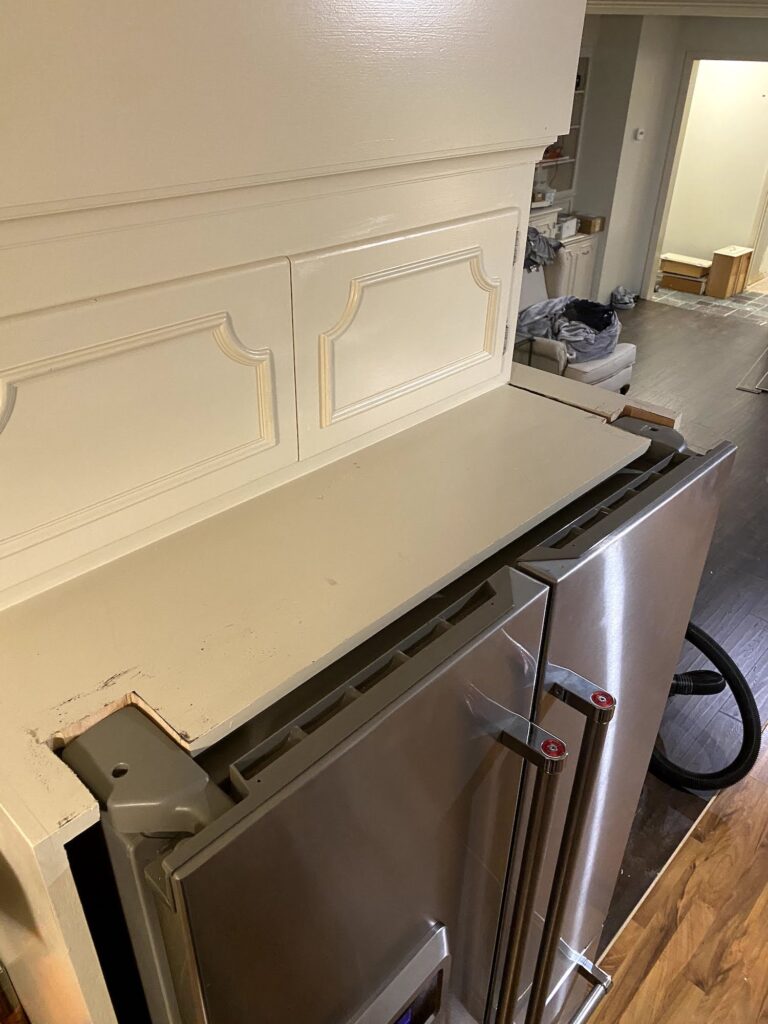
This realization left us with a new project – how would we make the refrigerator fit? First, we tried to figure out what was going to hit the portal when we raised it up a half an inch. If the top of the refrigerator was hitting it, we would have to take the upper cabinet off the wall or figure out a way to raise the entire top of the portal up. Thankfully, we determined that the problem was NOT the whole refrigerator, but just the hinges of the refrigerator that protruded upward.
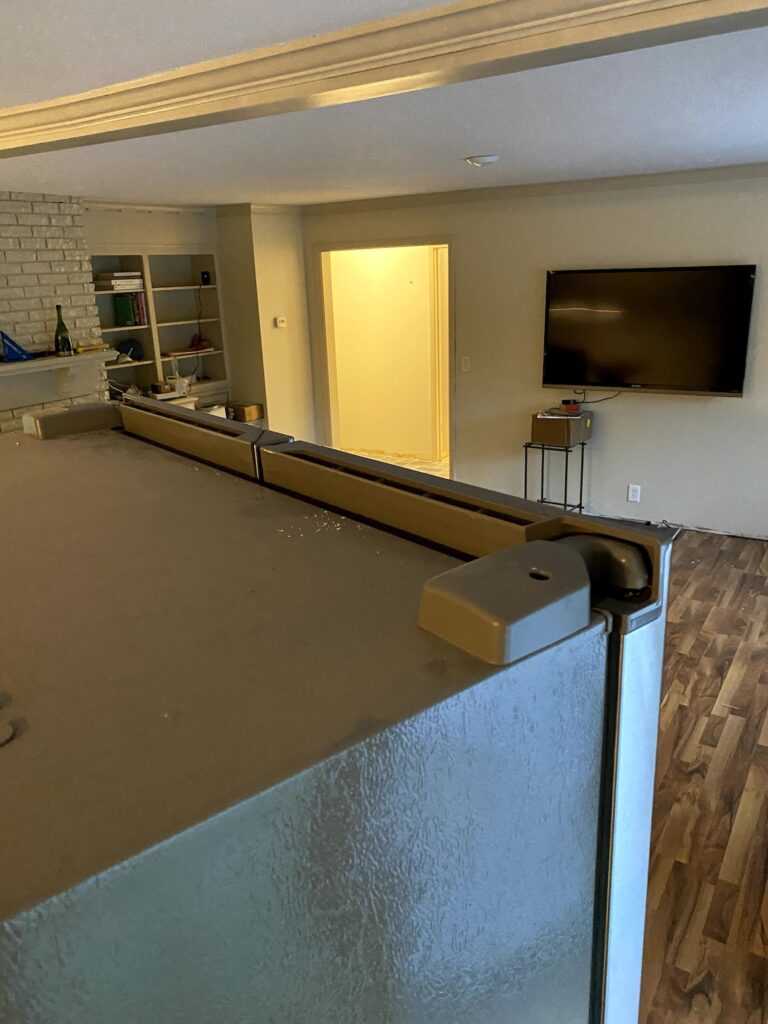
I will not lie to you, we did have a conversation about whether it made the most sense just to lay floor around the refrigerator, rather than running the flooring all the way into the refrigerator portal. While it is tempting, we refused to do so and here’s why: what if we got a new refrigerator and it was smaller than this one? At that point, we maybe wouldn’t be able to get the same flooring again (and honestly, would we want to deal with it then?) This felt like kicking the can down the road to me, so we refrained and got back to our problem solving.
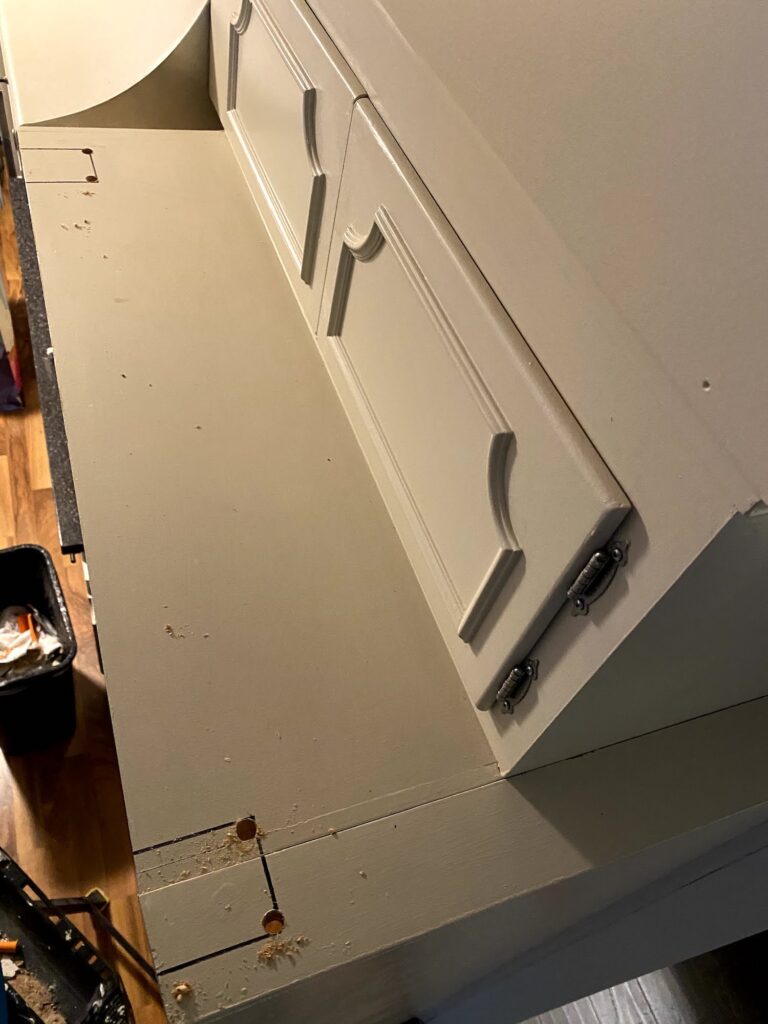
What if we cut holes big enough for the hinges to be raised, but maintained the rest of the portal? We realized that if we did this, we could attach a piece of trim to create a clean line again, although the reality was that the doors of the refrigerator completely covers up any hint of our cutouts.
Ultimately, this is what we did to solve the situation and it worked! My dad and I nearly threw out both our backs trying to get the refrigerator back into the portal, but we got creative and built a “ramp” out of old pieces of wood to be able to hoist the refrigerator the ½” from the old floor level to the new one. In hindsight, we should have rented an appliance dolly or used some sort of jack – when we get to our washer and dryer (coming soon) we definitely will).
Doors
On the same wavelength, we also failed to consider what they call the “undercut” of doors. Undercut is the space between the floor and the bottom of the door and as you can probably guess from my last story, it is important to think about how much space you have to work with before you lay new floors. In some cases, you can “plane” the base of the door or sand it just to give it a little more breathing room, but in our case, we had one door that we had to take off the hinges and cut off altogether to work with our floors.
In another case, we sacrificed a door entirely. We have a couple pocket doors (doors that fit into the wall until you need them), but they had very little undercut. Given that our house was built 60 years ago, these are a pretty old model and we tried everything to get it off the hinges to be able to cut it off. We watched youtube videos on youtube videos, but it would not come out of the hinges. We even tried cutting the door in place, which in hindsight was a terrible idea. Ultimately, we decided to lay the floor as if the door didn’t exist, making the door unusable. While this was frustrating, we have alternate plans to replace this door with a barn door if we decide we want it.
Not our finest moment, but honesty is the best policy, right?
Cutting Trim
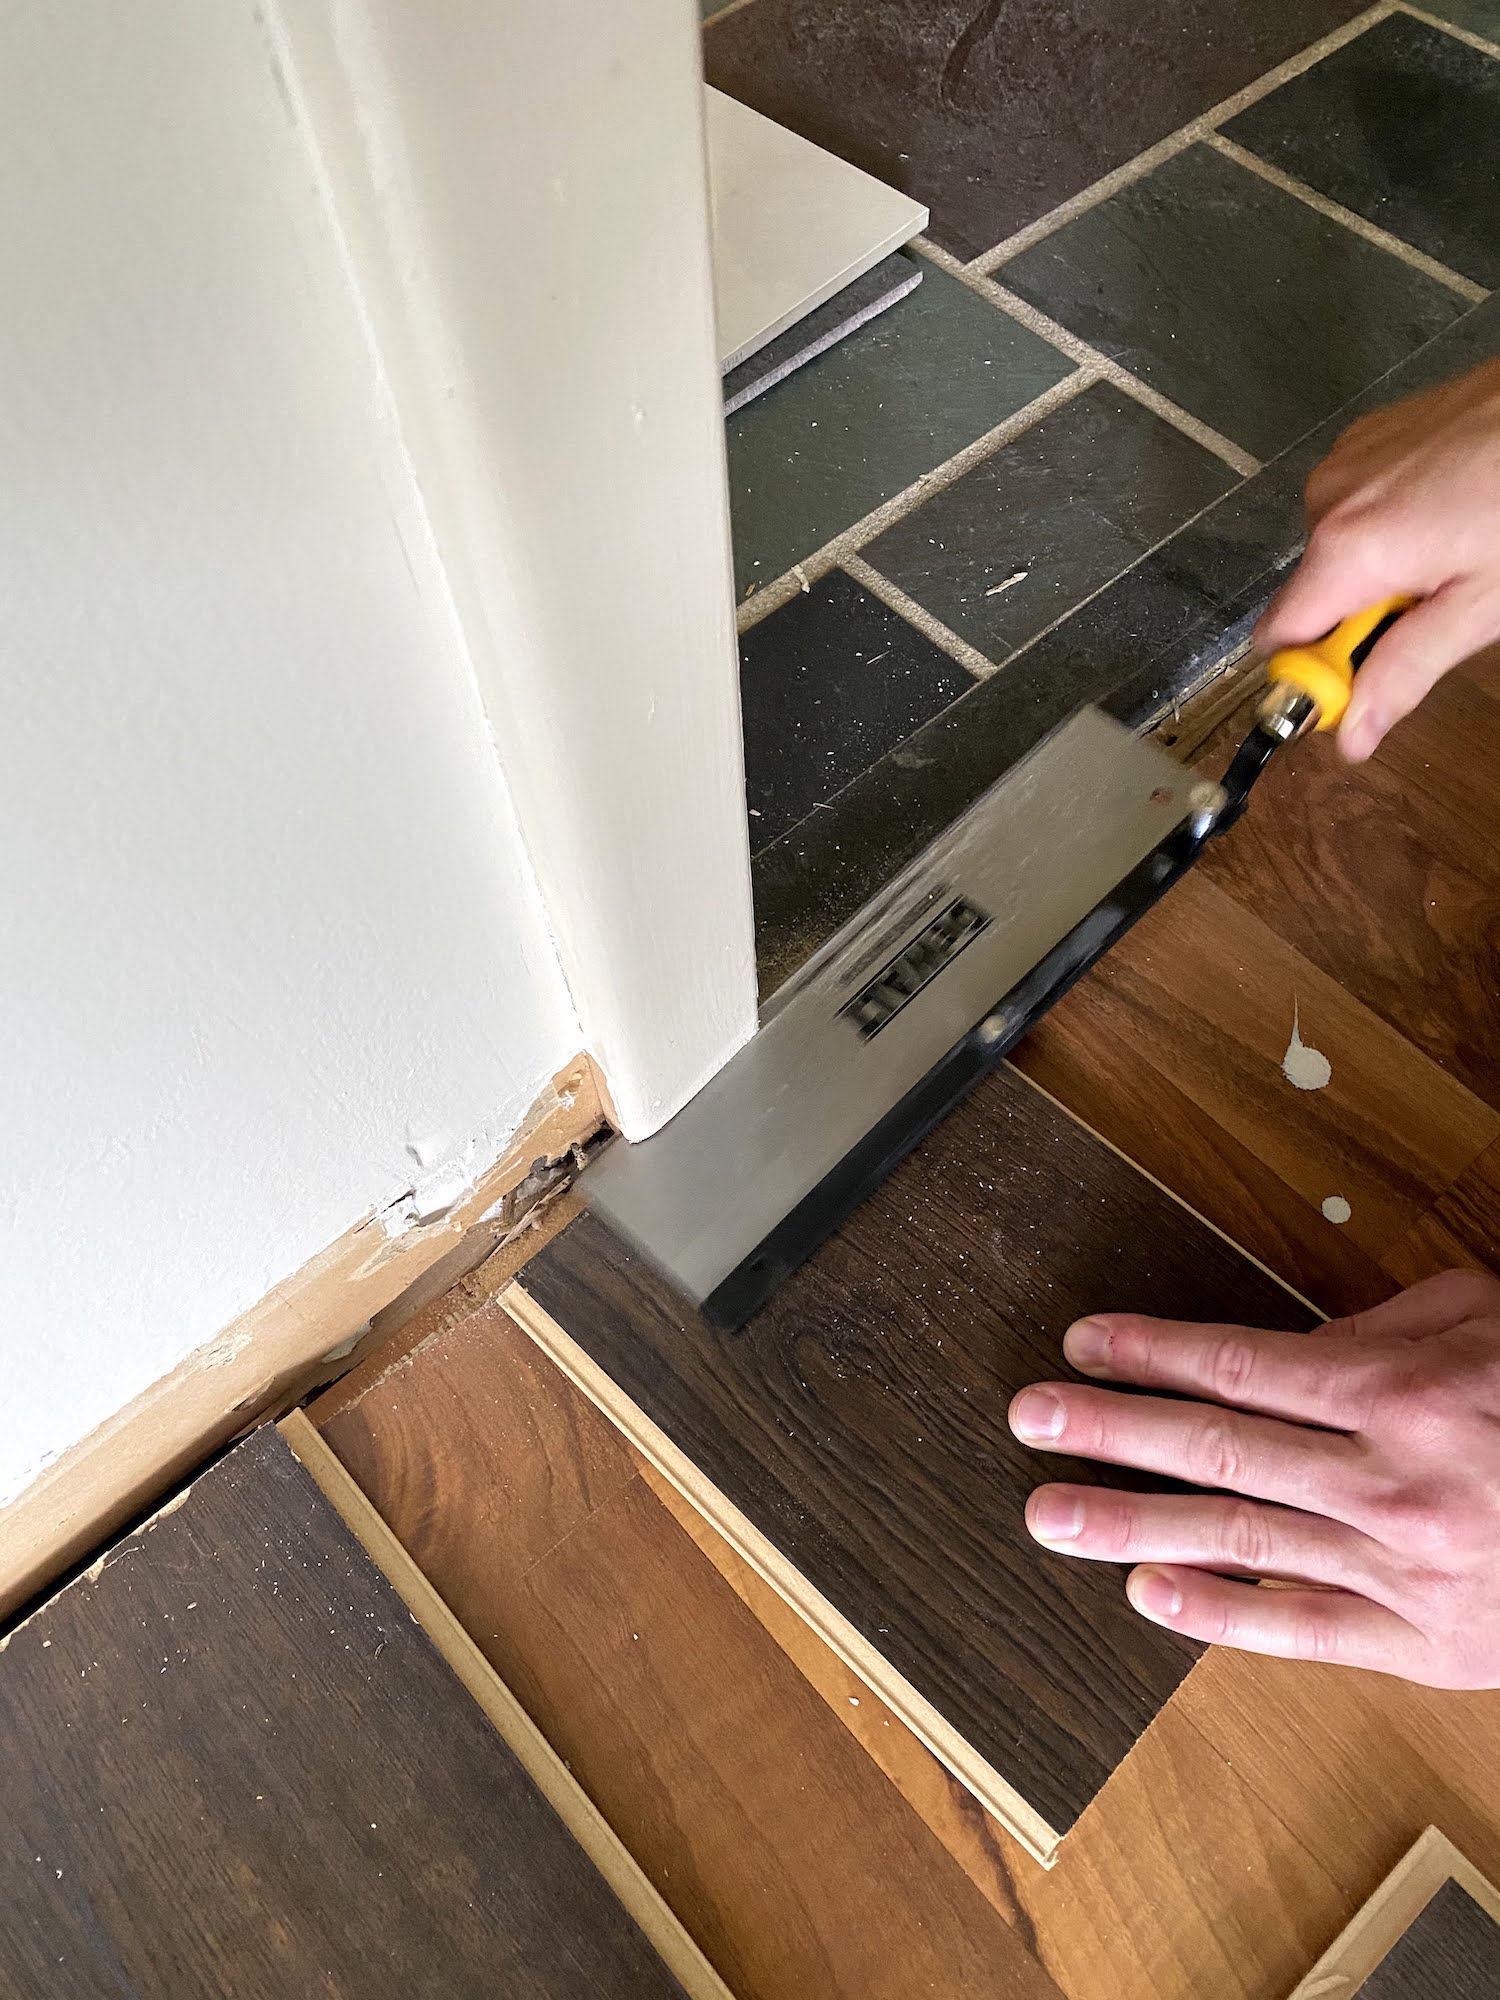
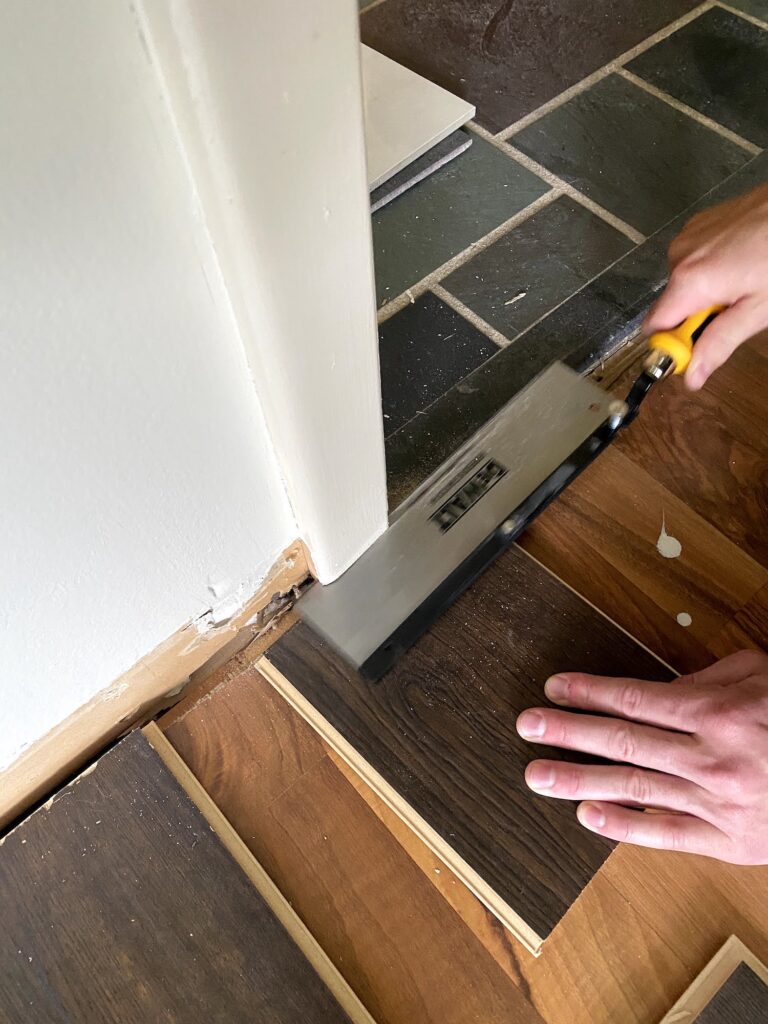
This one was less of mishap and more of a so-glad-we-learned-this kinda thing. In the first room we laid floors, (if you missed it, check out the post here) we carefully measured around door frames and cut jagged edges to try to perfectly fit around all the intricacies. We made it work, but needless to say, we were less than perfect. As we reflected on how hard this was by complaining to Mark when he came to help us with our bathroom, he chuckled and said “you know there’s a tool for that, right?” We were embarrassed to say we weren’t and insisted that he show us on our next Home Depot run.
This tool has been a lifesaver working on floors through the rest of the house. Mark was referring to a saw that you use to cut the trim around doors so that the flooring can slide under it. This way, you aren’t left with gaps between the trim and your flooring. I’m sure there is an attachment to an electric saw that does the same thing, but we use the manual one that can be adjusted depending on your angle to the wall. Here is the one we have.
I know this is not the end of overlooked issues and frustrating problems.. In fact, if you’re on my email list, you already read about another mishap in our basement a couple weeks ago….If not, I’ll share it in a post soon, but until then, you should join the email list here so you don’t miss anymore (shameless plug, I know).
The point is, everyone makes mistakes and sometimes, you have to just laugh and then figure it out.
