Cabinet Pull 101
The kitchen of our house was pretty much done when we moved in which you know is a total win if you’ve ever renovated a kitchen. The appliances are fairly new, we liked the countertops and although it’s technically a galley kitchen, it has good space.
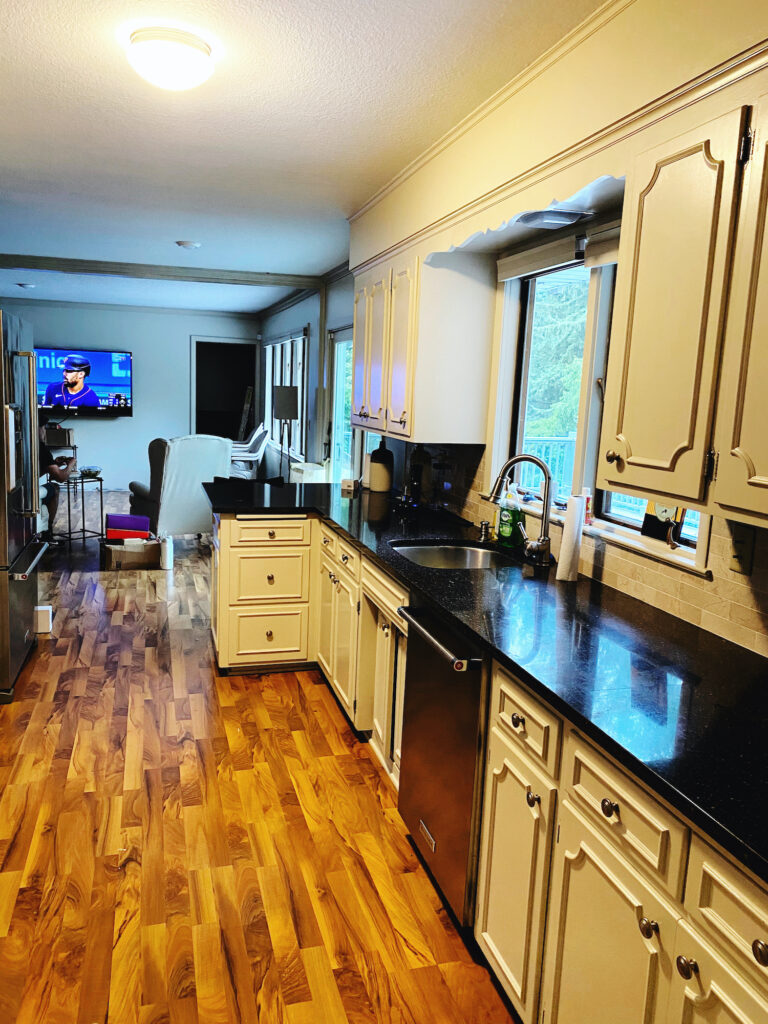
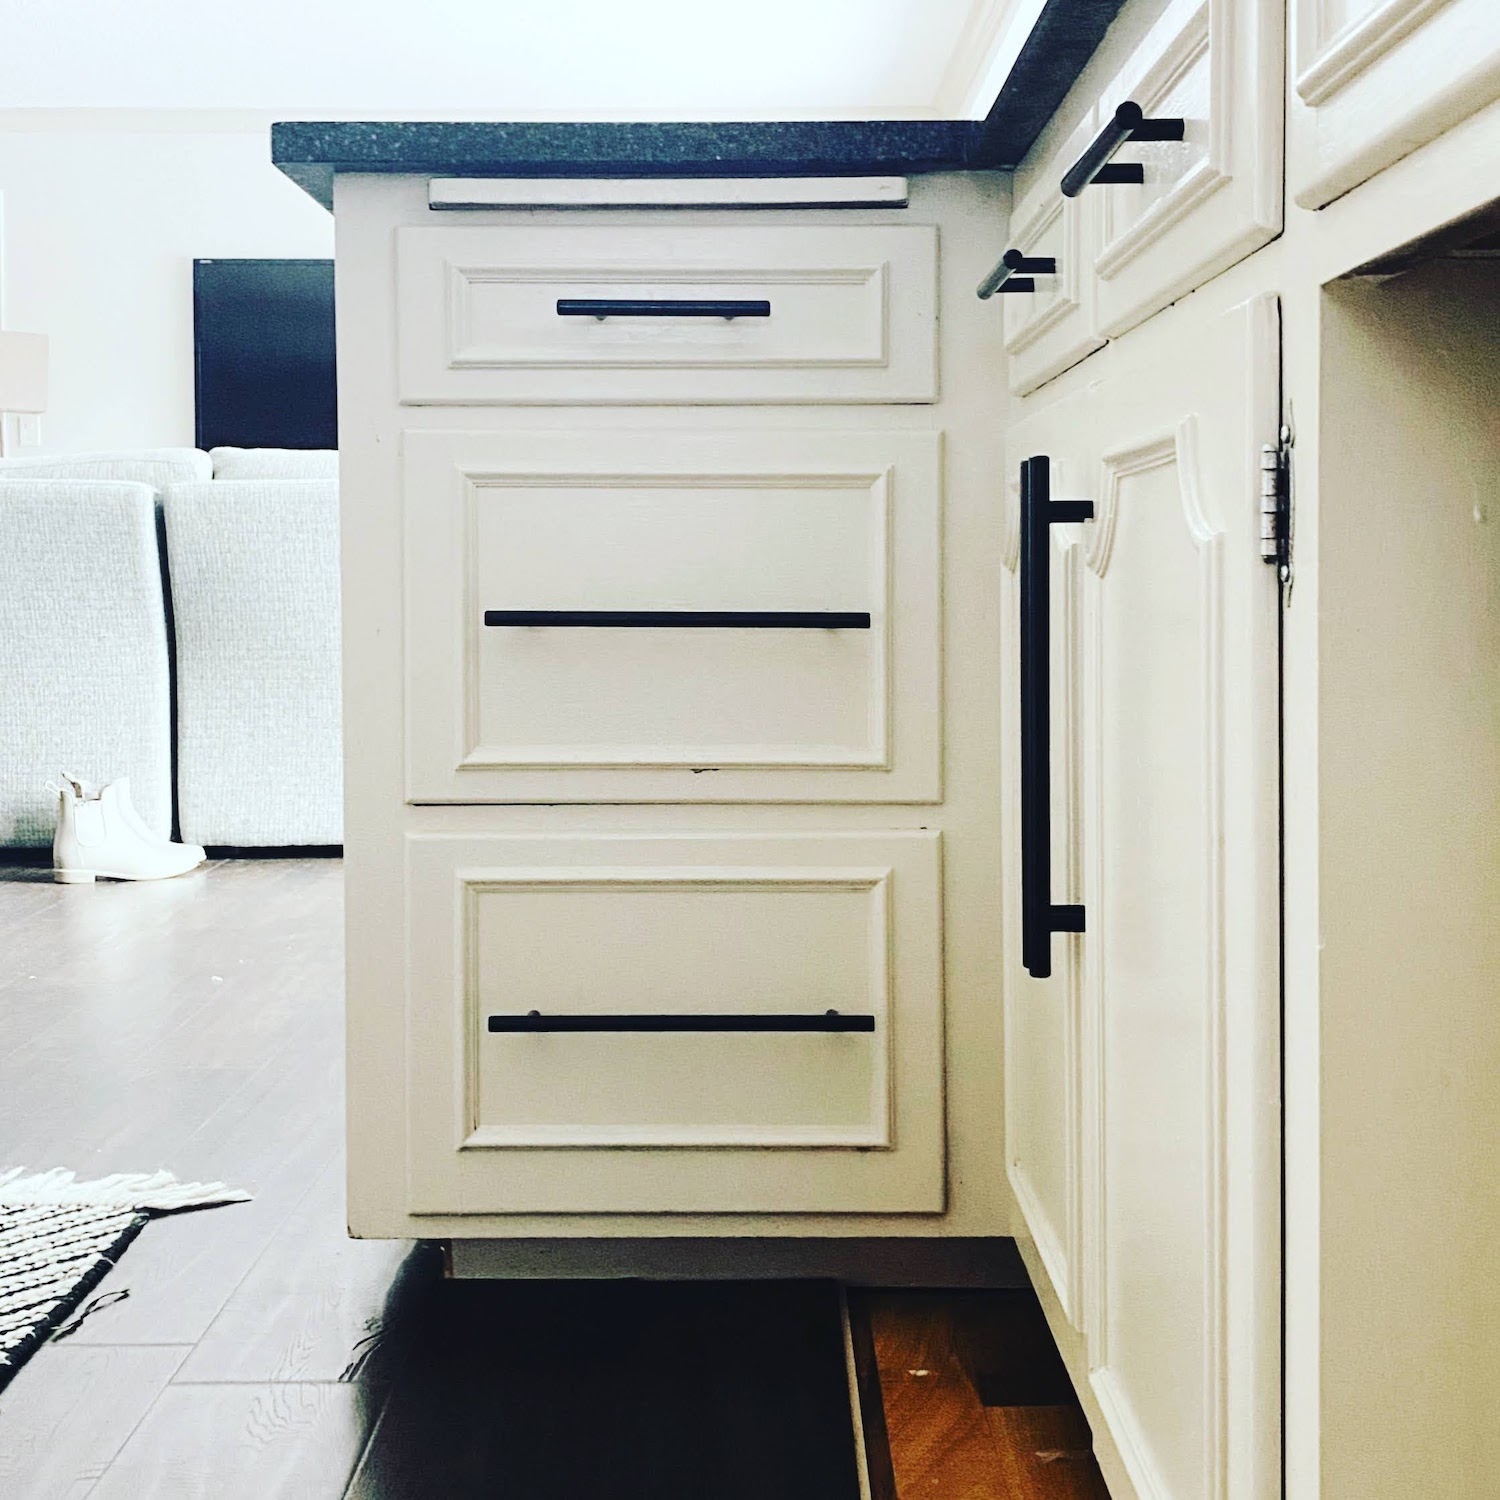
There was one thing I did want to tweak in our kitchen in order to mix the more classic lines of our cabinets with the modern aesthetic of so many of our things. For this reason, I wanted long, skinny black handles, to contrast the creamy white, traditional cabinets.
Originally, my plan was to use these Ikea handles, but once we got into the house and looked closer, I kept searching for some that were even skinnier, as these were still a little too heavy in my opinion. If you know me, you know I check on amazon for everything, just in case, and sure enough, I found just the perfect thing with these. I measured the detailing on the cabinets to see what length I could get away with and ultimately I bought 2 sizes, short ones 6 inch ones for a couple special cases, and then long 11 inch ones that could work on most of the cabinets and drawers. The key here was to make sure that in the spaces I wanted longer pulls, the 11 inch would fit.
Full disclosure: the way we ultimately did this may not be the way that the pros do it, but I’d rather be honest with you about what worked for us.
To start, we took the original cabinet pulls off to start with a clean slate. We were hoping to be able to reuse the holes that were there, but they weren’t placed in the right location, so we had to plug the holes first. To plug the holes, we used a putty knife and this wood filler to fill the holes – the reason I like this one is that it goes on pink but then it dries white so you know when it’s safe to start sanding. The goal here is to get enough filler to fill the hole, and to be able to sand it flat, but not enough that you have to sand a lot.
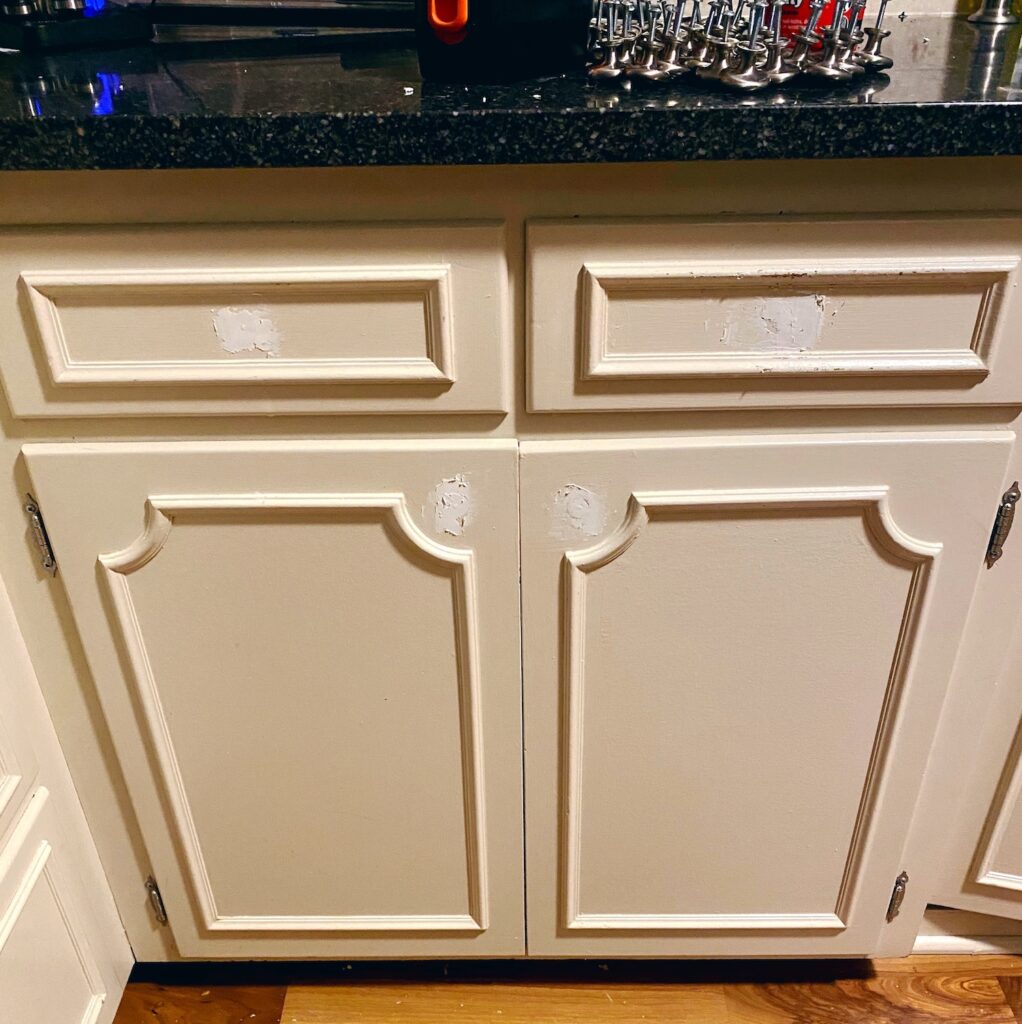
Once the filler is dry (and in this case white) you can sand them down to be nice and smooth and paint the hole and then finally, you can start measuring and drilling.
To decide where to place them, we first measured the distance between the moulding on the cabinet front and the edge of the cabinet. Then we divided that in half. In the vertical direction, we held the cabinet pull up on the cabinet to see what looked best, then we measured to the bottom fastener of the pull. Remember that the screw goes into the middle of the fastener (not the bottom) so you need to measure the size of the faster and add half of that to the distance from the bottom of the cabinet to know where to drill the hole. In our case, it was ⅜” so we added 3/16” to whatever the dimension was. One tip we learned from our old cabinets, it worked better if we measured from the floor (base cabinet) or countertop (upper cabinet) since the cabinets weren’t always hung perfectly straight.
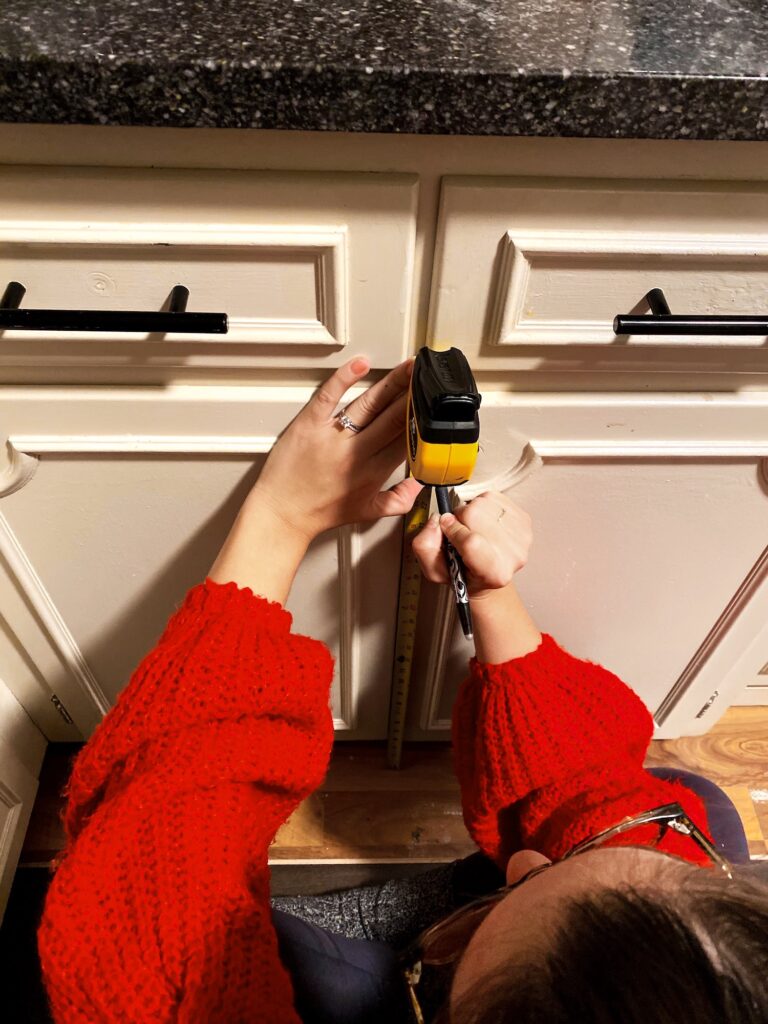
Once we marked the proper dimension in the vertical and horizontal direction, I marked it and Matt drilled a new hole in the cabinet so we were able to screw in the first screw to attach the bottom of the pull. Next was the tough part.
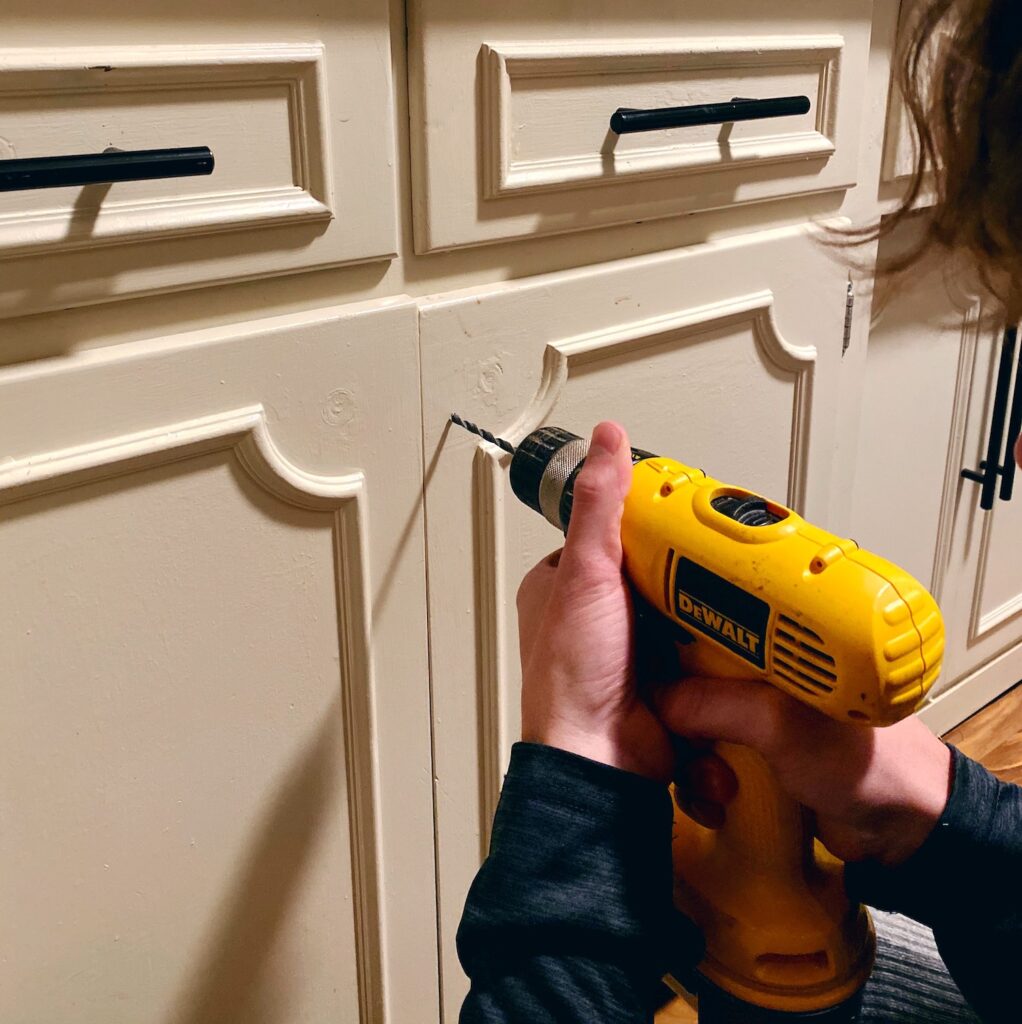
I could tell you all the things we tried in great detail, but I’m going to fast forward to the best method for us rather than bore you with the details. The short story is, when we tried to measure the top hole, we ended up with crooked handles no matter how carefully we measured. It could have been crappy measuring, it could have been old cabinets that aren’t hung exactly straight anymore… whatever it was, it drove us NUTS.
To get a straight pull, we attached our magnetic level to the pull (if you don’t have one, buy one… it’s helpful in SO many projects). We leveled the pull using the bubble in the level and marked the top of the top fastener (the bottom of the top is fine too). We then moved the pull and measured where the hole should go based on our strategy above (3/16” down from the top of the fastener). We then drilled the hole in this location and placed the screw in the top part.
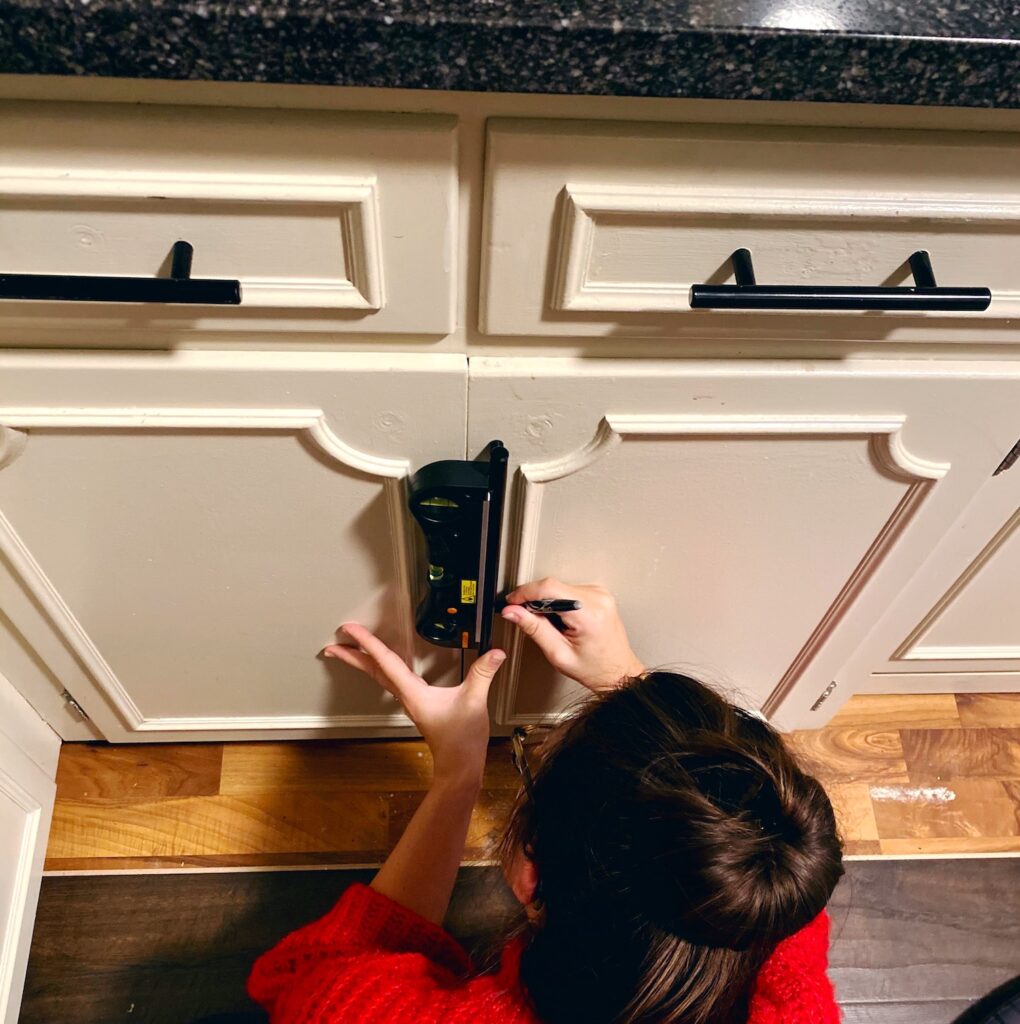
Next, we crossed our fingers, and placed the magnetic level back on the pull to find out our fate. If it is wrong, don’t worry, there are a couple things you can do. First, try tightening and loosening the screws slightly to try to straighten it out. If you were REALLY off, like we were in a couple instances, you may want to drill a bigger hole. We found that when you fill the hole in and then try to drill into it once its dry, the drill finds its way right back to the same hole again.
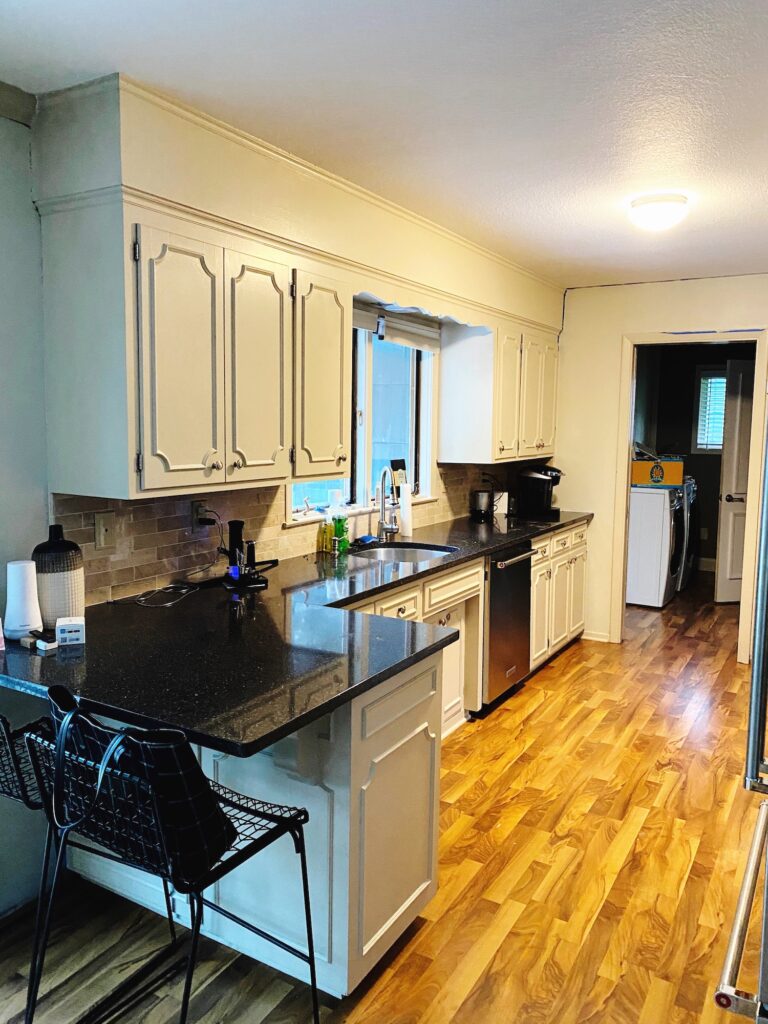
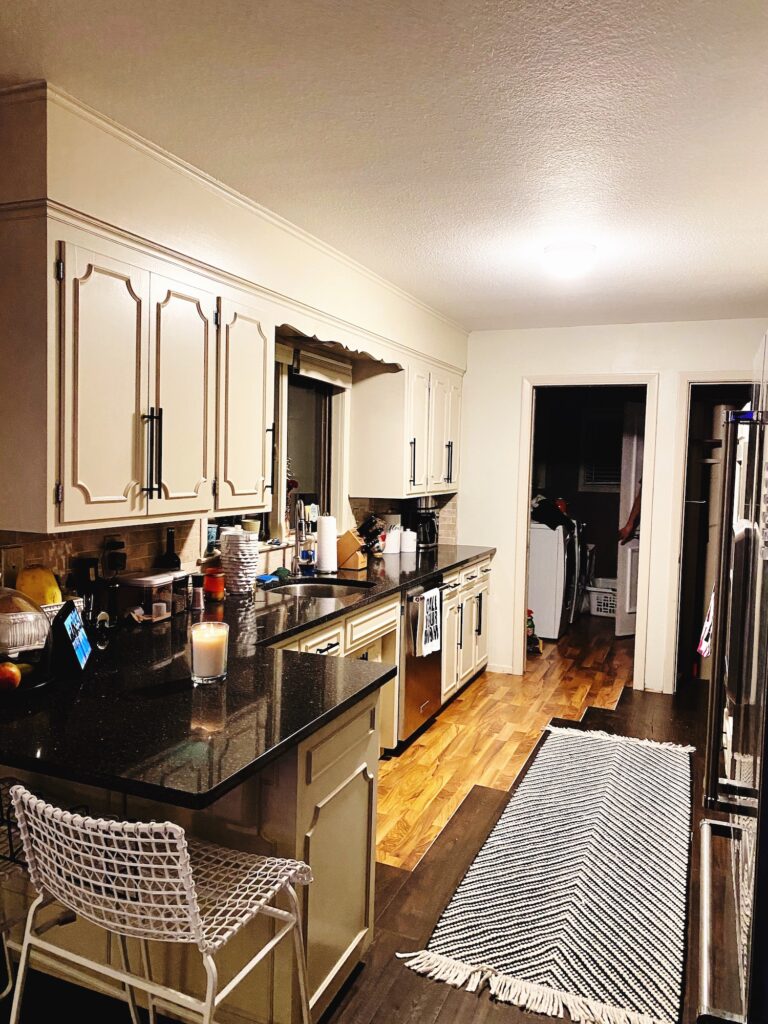
It’s an annoying, fidgety task which is why we only did a couple each night. However, there are a couple really great things about this project. First, it doesn’t require a lot of tools, so you can just do a little at a time, instead of having to lug out lots of tools and set things up. Second, it is a fairly low cost way to freshen up your kitchen! See the before and after below (we still have some floors to get done.)
One small piece of insight, we bought matte black silverware from amazon and the finish has almost completely rubbed off. Because of this, I know there’s a chance that could happen to these too (though these aren’t going through the dishwasher constantly so we may be ok!) I’ll let you know.