Master Bathroom Renovation : Part 1
One of the things we believed we could improve about this house when we bought it was the master bedroom/bathroom. The bedrooms are a pretty generous size, but there were some things we wanted to change when it came to the way the rooms were configured. We learned when we toured our house that if a bedroom had an en suite bathroom (meaning you could enter the bathroom from inside the bedroom) it was usually considered the “master suite.” In our case, there was an en suite bathroom, but it was fairly small and wasn’t what we were hoping for. With some paint and fresh furnishings, it actually turned out to be a cute little guest bathroom and has been what we are using in the meantime.
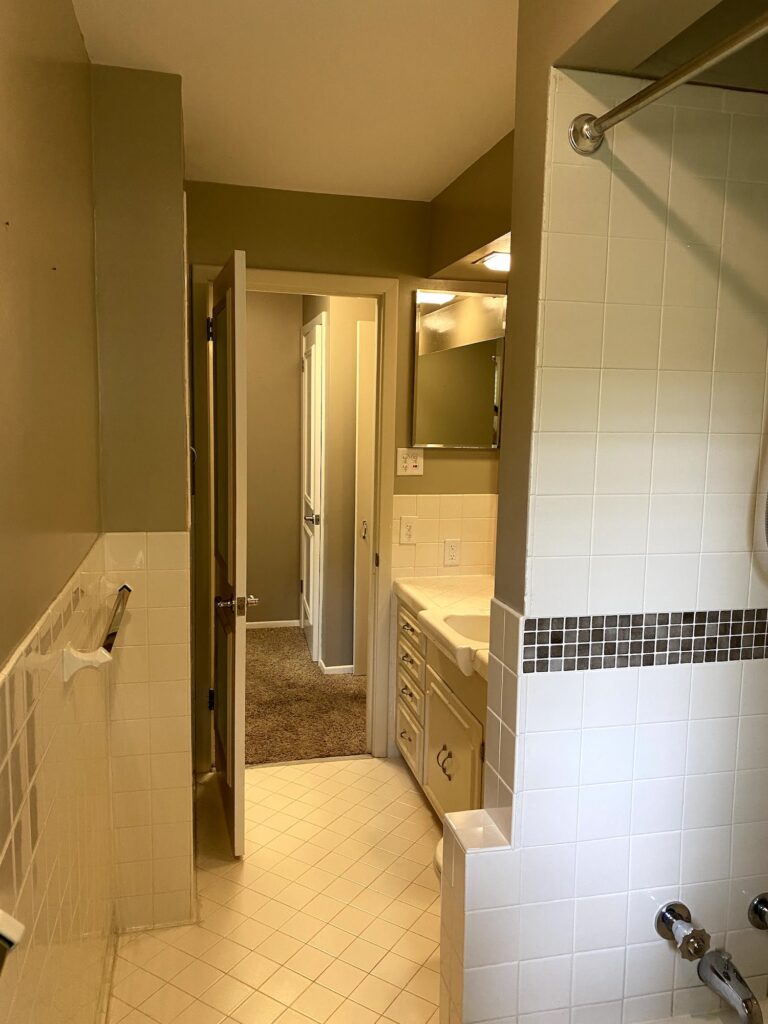
There is a second bathroom in the house that is much larger, but you technically have to leave the bedroom to access the bathroom so it still wasn’t the ideal master setup. We realized that this larger bathroom had the best infrastructure for a master bathroom, so we started to consider what we would change if we were to make it our own.

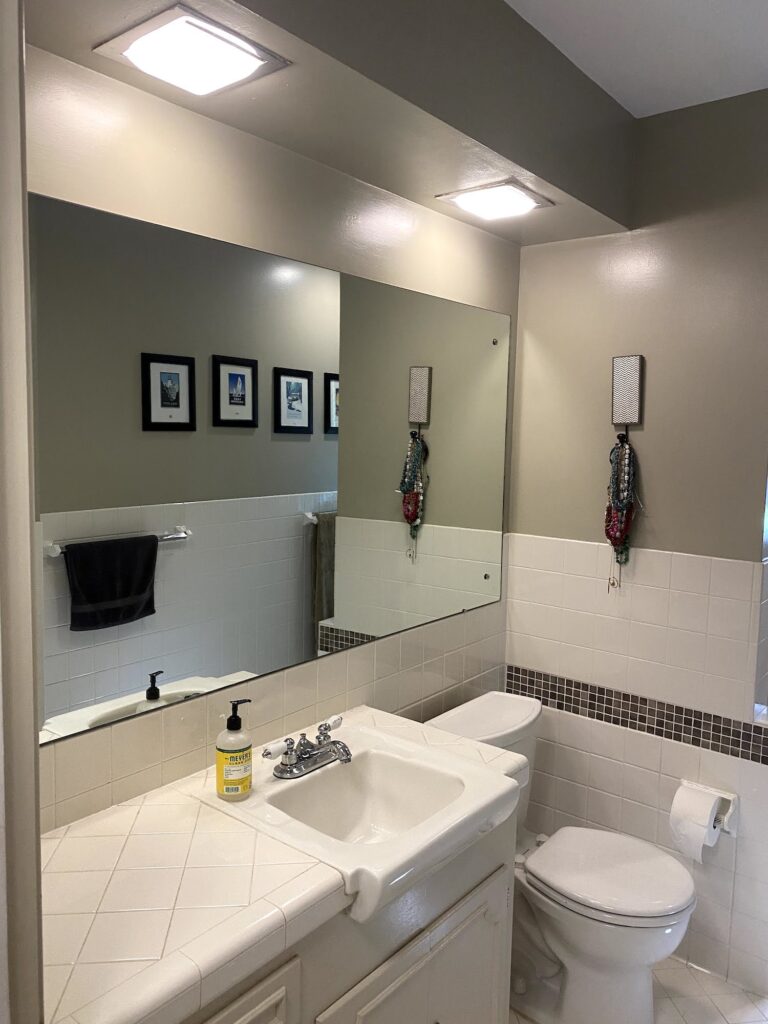
First and foremost, we really wanted 2 sinks and since the vanity was a little outdated, we knew we could fix this, if we could find a fairly narrow 2 sink unit (we only had 48 inches to work with MAX). One thing I will mention – I think the previous owners did a really great job of keeping things fairly neutral so that this bathroom didn’t feel super dated (even though it was). It didn’t have to be changed immediately and some people may not mind it which probably helped them sell the house. Since we are already doing work to this room, we are changing all the tile, but I think it stood the test of time.
The other thing we wanted to change was the shower. When I think of a dream bathroom, I look for a nice, big, bright shower, as opposed to being confined to a small space with a shower curtain sticking to me if I move too far outside the boundary. To achieve this, we decided to pull out the tub and create a walk in shower in its place. We are still deciding between 2 options for the shower.
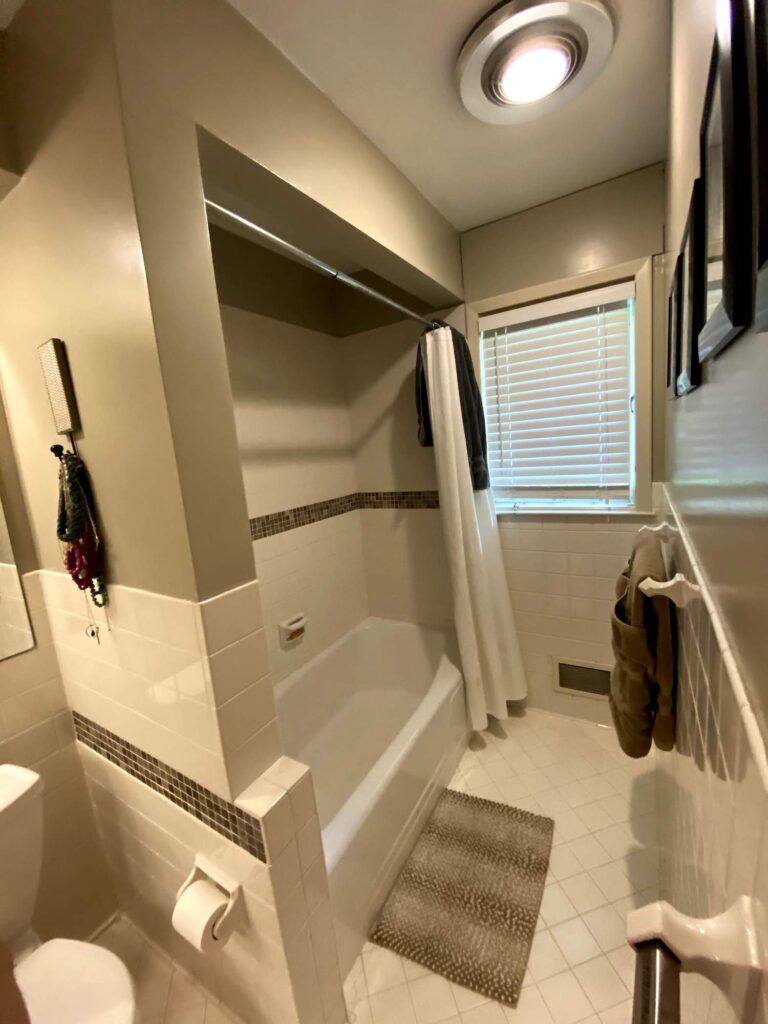
The first is to replace the footprint of the tub with a walk in shower, creating a 30×60 shower with a glass door. This would allow for someone to step out of the shower and dry off in the corner that is currently clear with plenty of room.
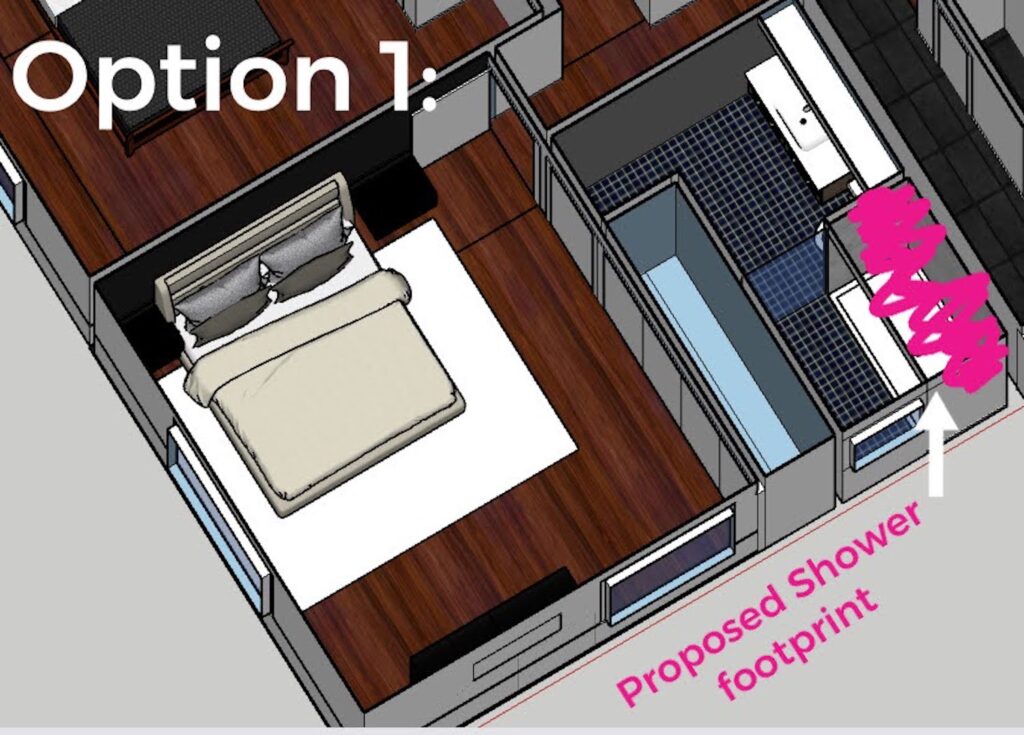

The second option is to make a big square shower at this whole end of the room, taking over what we were considering the “drying space” before and making a huge 60×60 shower with a window and a big glass door. We would probably frost the window here for privacy, but I think it could be really cool to have such awesome natural light. Although you lose your drying space, the shower is big enough now to create zones – once you turn off the water, you can dry off right there!
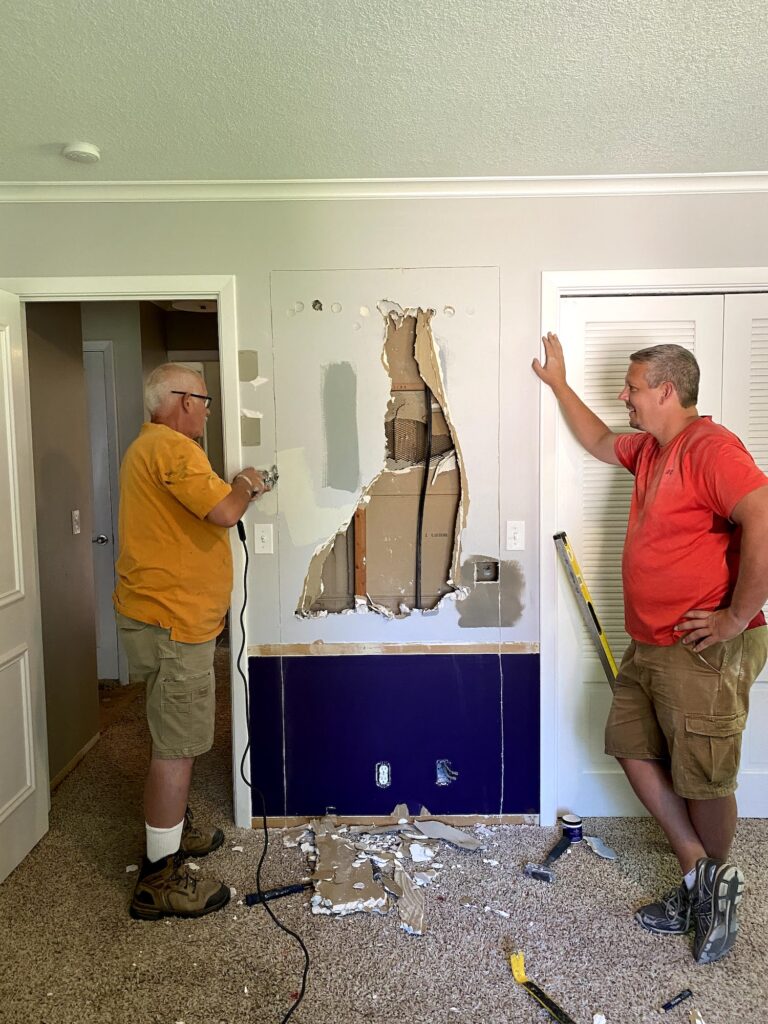
Finally, the biggest move was to knock through a space that was currently a closet to create a doorway into our master bedroom. By doing this and closing off the current door, we would be able to get more unobstructed space standing at our 2 sink vanity (the door would no longer be swinging into whoever is standing there brushing their teeth) AND we would get an ensuite bathroom. Win-win…right?!
After lots of thinking and planning (yes, that is a 3D model I built of our house) we were somehow able to convince my brother-in-law’s dad, Mark, to come help us create our new doorway. The weekend was more than we all expected, but we finished the weekend with a door and a whole lotta memories.
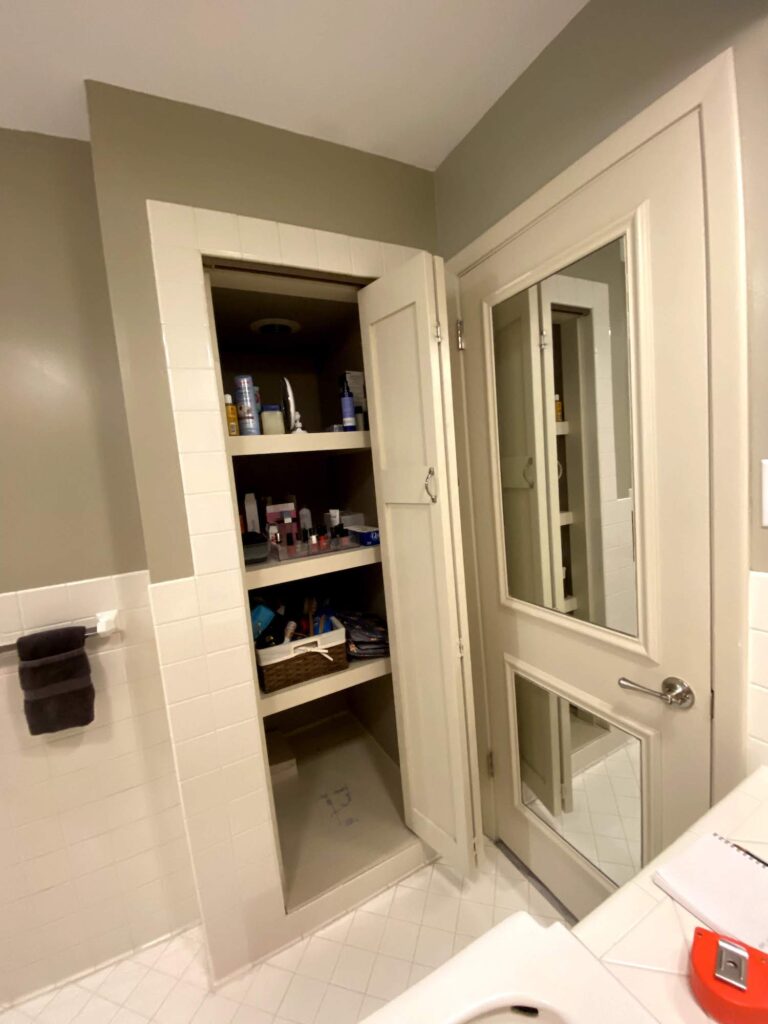
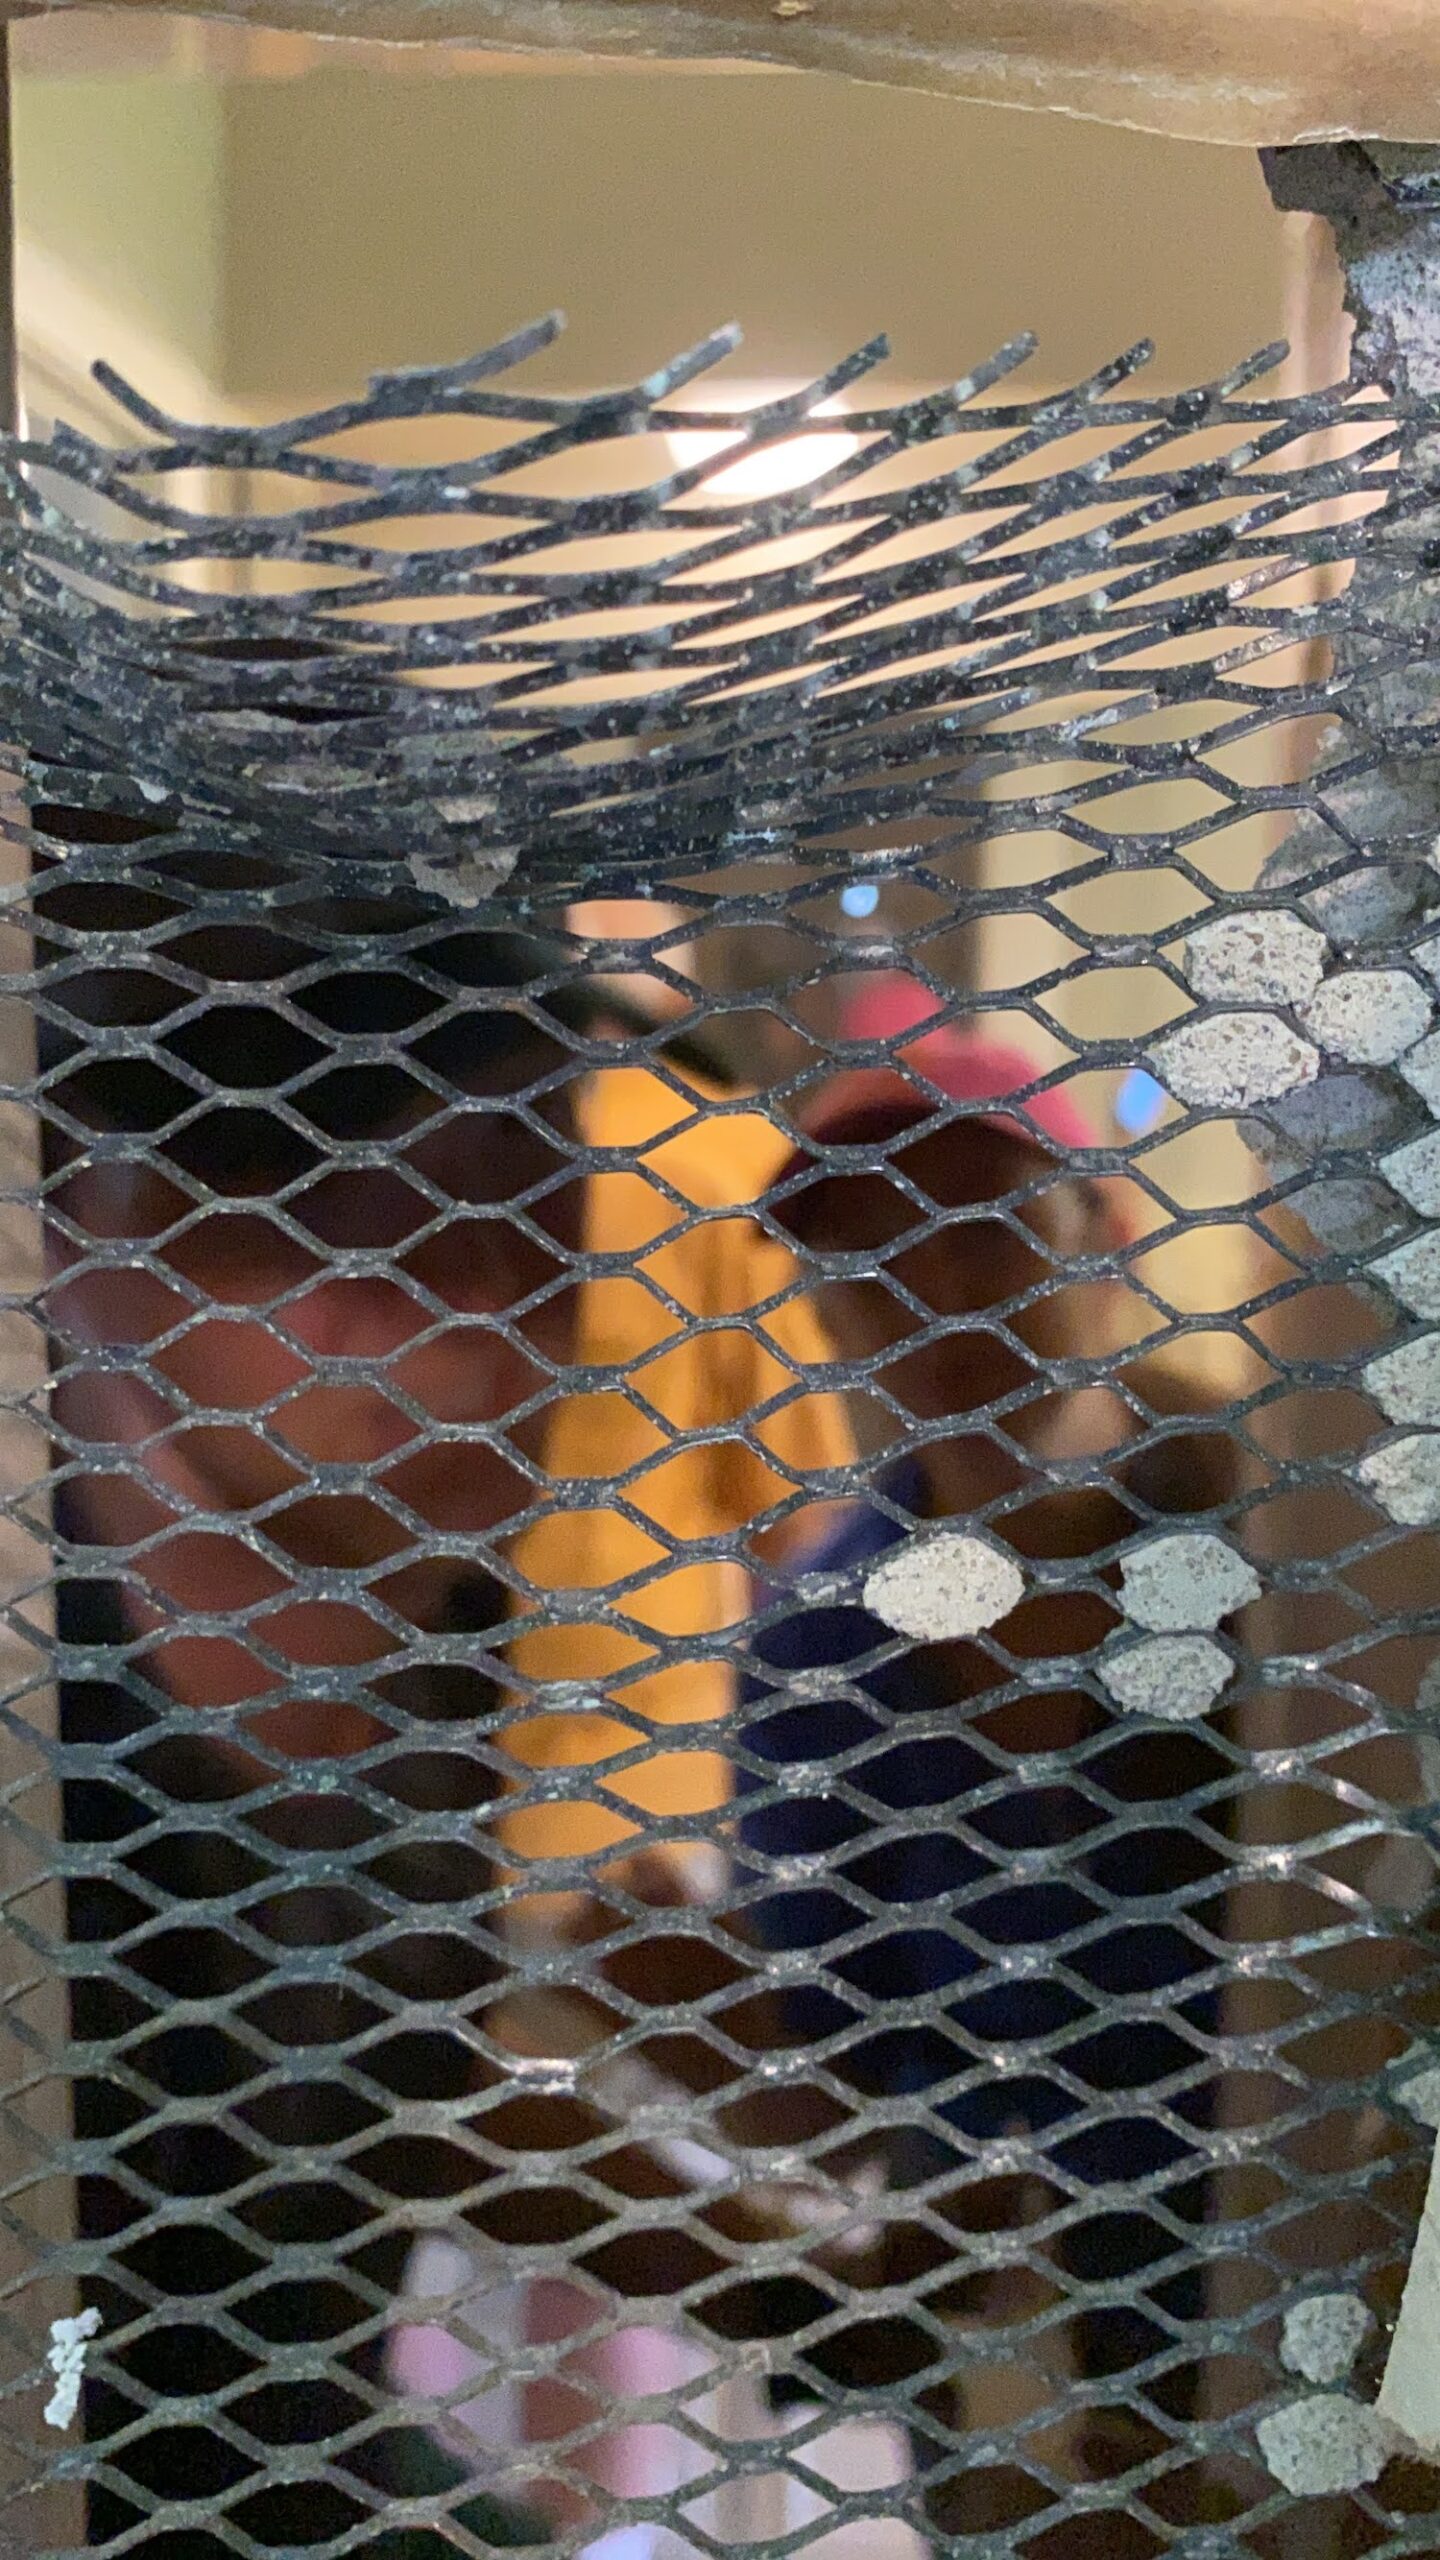
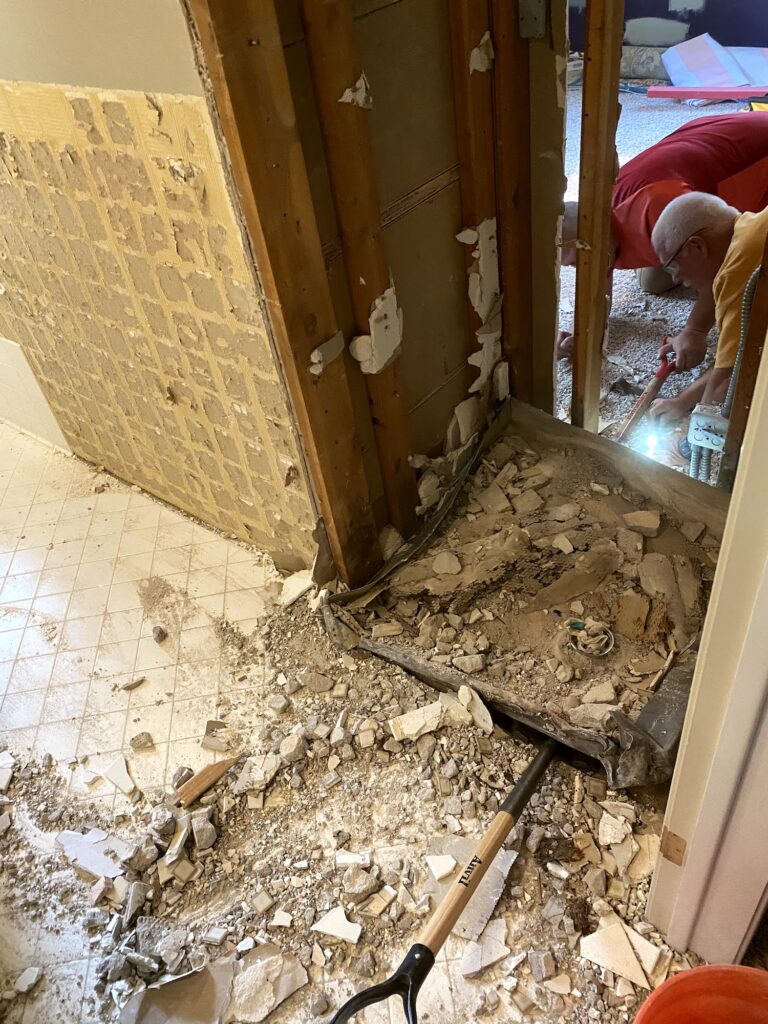
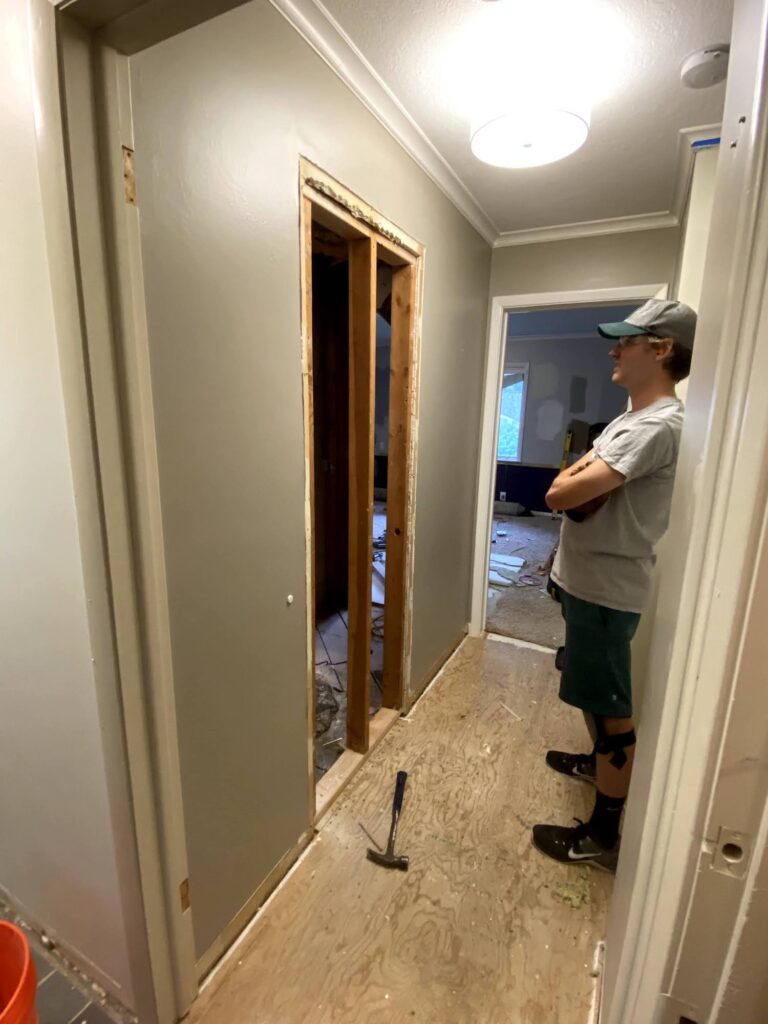
First, we had to cut the hole for the door – this was done with a saw and some hammers. Getting the drywall off the bedroom side was not a big deal (though we did find out that at some point in the past, someone had layered another layer of drywall in this whole room, making it a bit more difficult to cut through. This was not the last time we would see this. Once we got the hole cut, we went to the other side to break through it (you know, like you see on HGTV). However, we pushed and pushed and nothing happened…. We started digging, to discover a layer of tile?!
Why would they tile a closet? That wouldn’t make any sense…. Unless it was a shower? As we pulled the plywood back from the inside of the closet, we discovered our worst nightmare… a full shower that had been covered up with wood panels, filled with shelves and adorned with a door. This job was going to be harder than we thought.

We continued to demo as much as we could, but eventually, we needed more than just manpower. We needed a jackhammer to get the shower pan out. We made a home depot run and rented a demolition hammer, essentially, something to break the concrete that made up the shower pan. Once we got a piece out, we learned that there were about 6 inches of concrete and then 2 layers of tile and then the wood panel material. This also meant we had to cap the drain in order to ensure it wasn’t creating problems for us in the future.
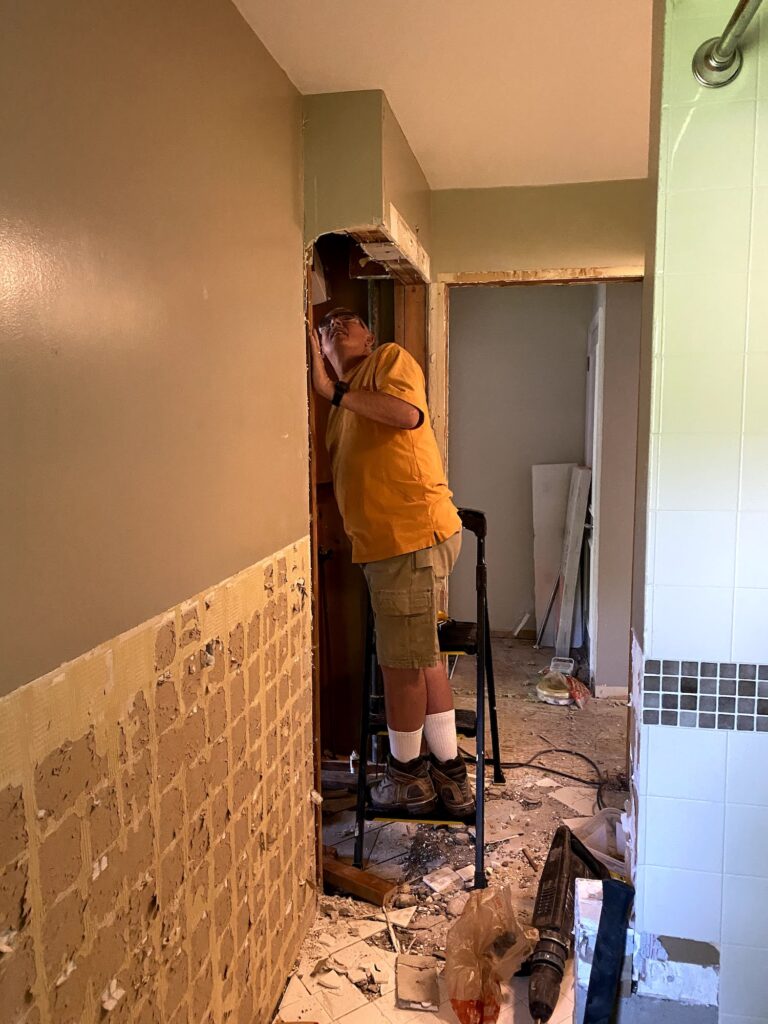
Obviously, when we started, we did not expect it to go this way, so really only were able to complete our demolition the first day. The second day, we would build everything back including filling in the existing doorway.
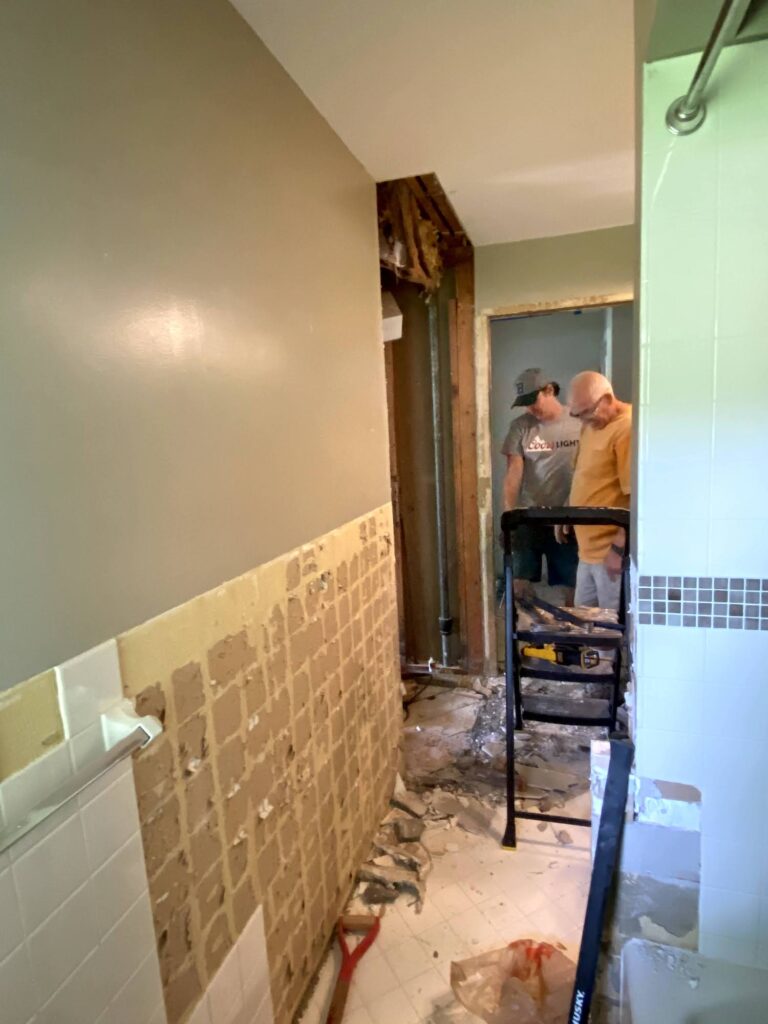
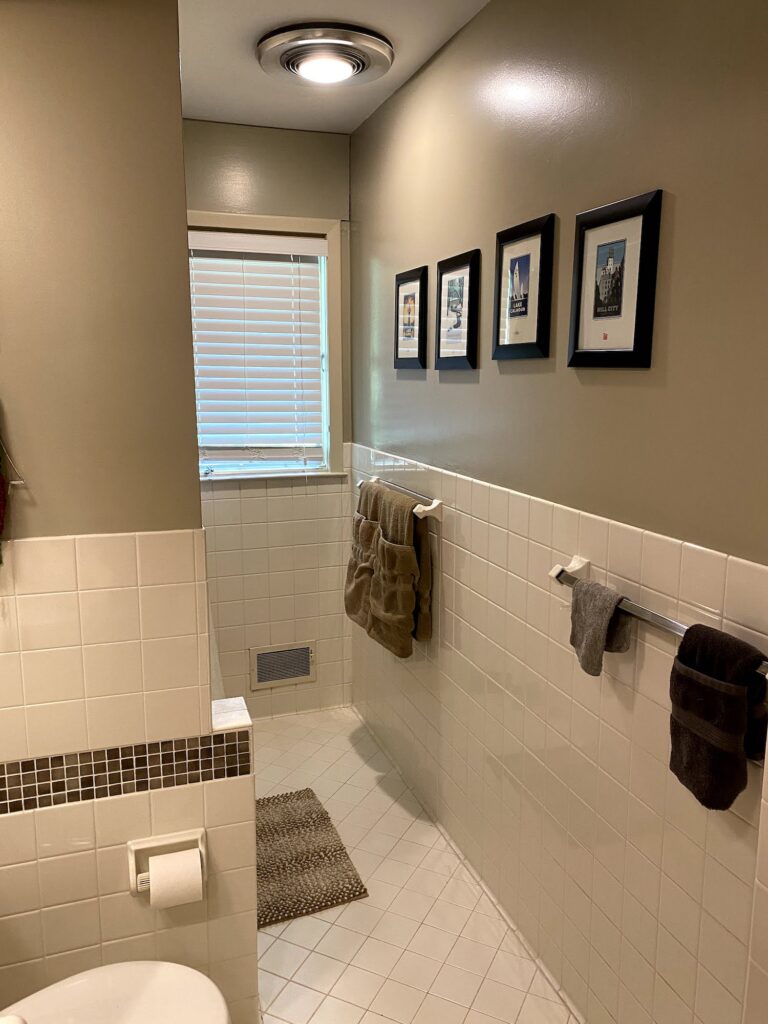
Look how much more open it looks on the right!
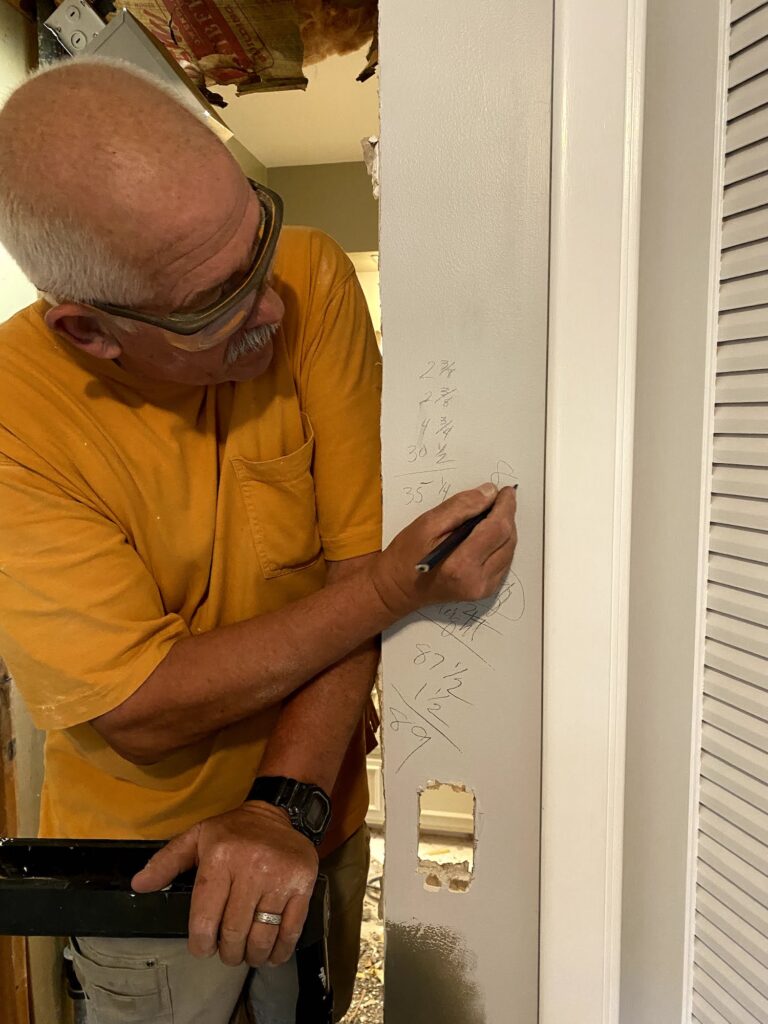
The next day, we framed in the doorway to create a continuous wall in our hallway. We measured the studs and worked them in place. Next, we measured and cut the drywall to not only fill in the doorway, but to fill in the new corridor we created in our bathroom, and the ceiling of the corridor. Remember that double layer drywall I mentioned? In order to have a plumb wall, we had to stack 2 pieces of drywall as well. Double measuring, double cutting…. Again, not the way we planned.
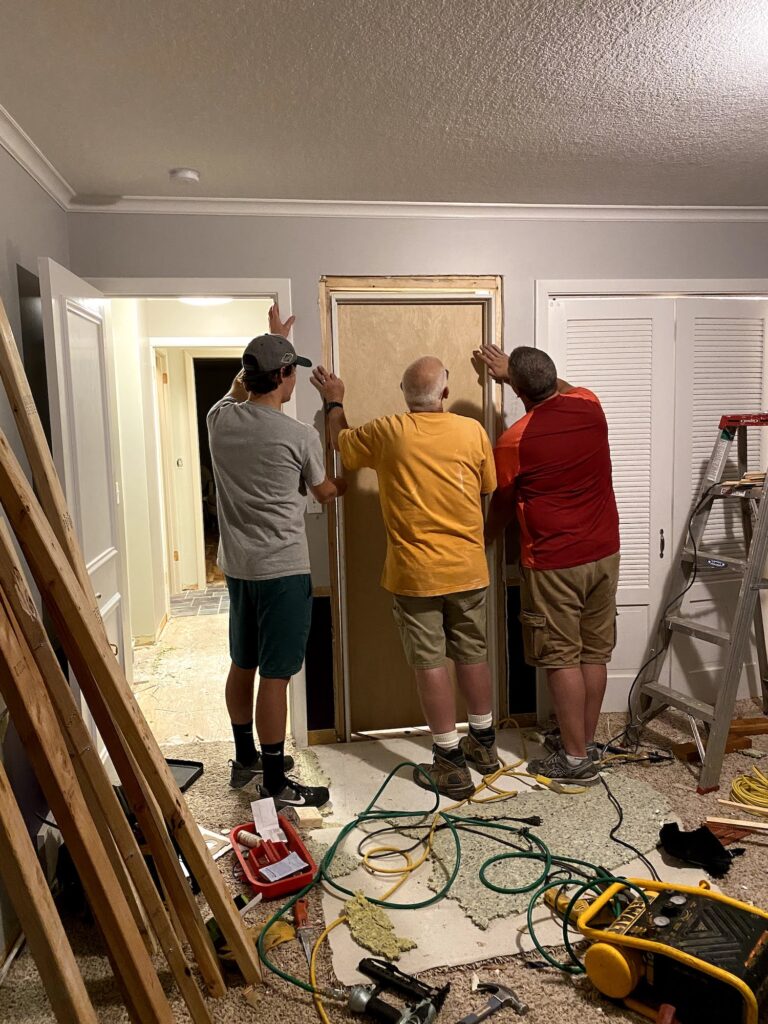
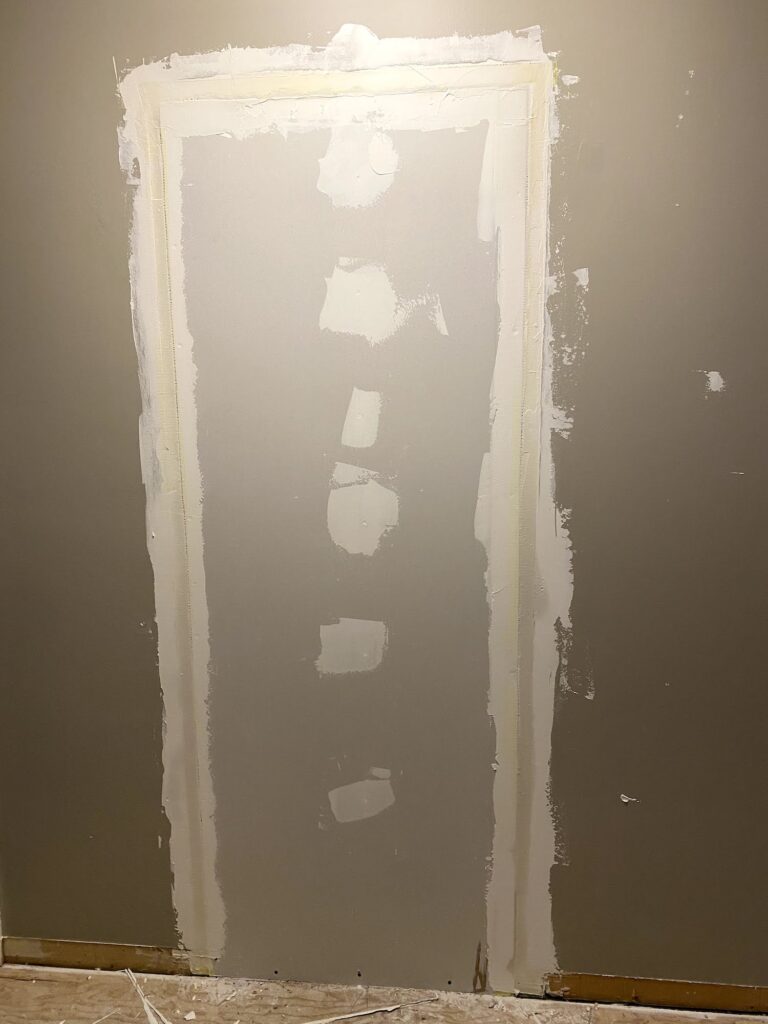
At about 3 o’clock in the morning, we were able to place the door in the opening and level it with shims (triangular pieces of wood that act like spacers to make it fit just perfectly). To finish the night, we taped and did our first layer of mudding (a whole post in itself).
On the morning of Mark’s departure, we did another coat of mud and waited for it to dry. Mudding is a tricky skill (I still have a longgggg way to go) but Mark taught me that sometimes, you have to stop messing with it before you make it worse for yourself. I have come back in and tried again, being patient with myself and trying to remember that I’m just learning.
This weekend would not have been possible without Mark and Travis, our awesome teachers. They were unbelievably patient with Matt and I as we asked tons of questions and tried to soak up all that we could. Overall, its pretty cool to look at how much this changed the functionality of our everyday. Thank you Mark and Travis!

